Category: Brands

KIKO 512

8

I bought my first KIKO polishes from the Black Friday weekend sales and after swatching all of them on the plastic tips I’m quite excited about them. I will definitely get more of these :D

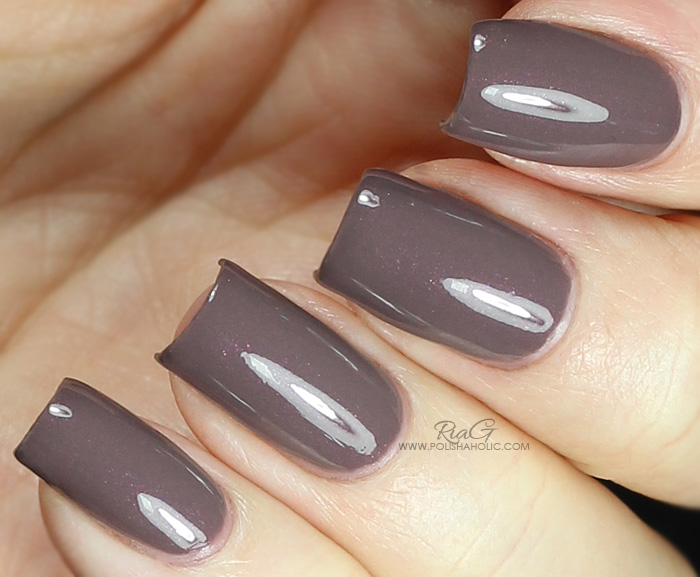
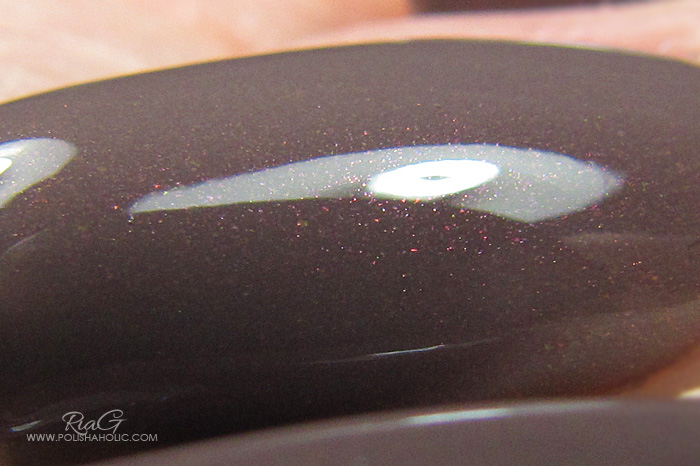
This is KIKO 512. On their website it’s described as metallic rosy taupe. Rosy taupe I agree with but when it comes to nail polish metallic is a finish to me and this one is clearly a creme with very fine pink shimmer. Gorgeous color!

Formula was good. Application was very smooth and easy. This was opaque with two coats and dry time was fast. For this manicure I used a coat of Essie Nourish Me, a coat of Glisten & Glow Stuck On Blu!, two coats of KIKO 512 and HK girl top coat.


***This polish was purchased by me. 
 

Dance Legend Velvet 649

14

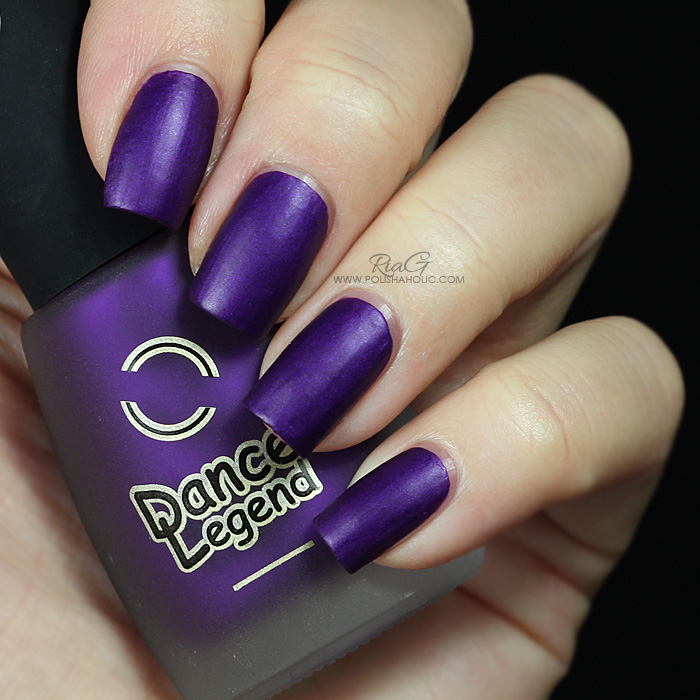
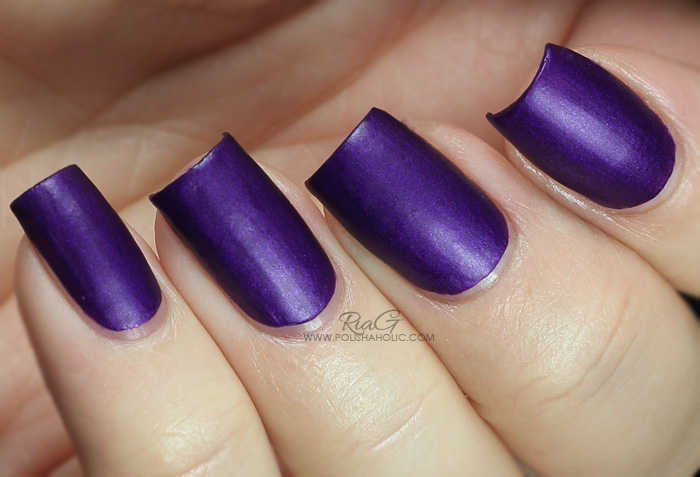
Dance Legend is still a pretty new brand to me. I previously only had two of their polishes and I recently ordered two more. Here’s the first one of those two, a stunning purple matte, Velvet 649. I love the color and the matte finish of this polish. It’s absolutely gorgeous and goes great with my skin tone.

The application was a bummer though. Balding, dragging, uneven mess. I guess if you take enough polish on your brush you can make this a one coater but it’s easier said than done. I needed two coats on every nail. Even if the second coat evened it out quite nicely you still need to be pretty fast with your application or this will dry thick and lumpy. So my advice is, take enough, not too much polish on your brush and apply the first coat with a few fast and steady strokes. Let dry completely and apply the second coat the same way. What ever you do, don’t go back and try to even it out or you’ll make the polish bald even more and pile up. Just let it dry and the second coat will fix it.

All that being said, this dries super fast and looks surprisingly even when completely dry. So if you’re careful with your application this is totally worth getting. Such an amazing color! I love it!! Totally worth the difficult application.

This is two coats over a a coat of Essie Nourish Me.


***This polish was purchased by me. 


My first look at Mavala Spring 2015

8

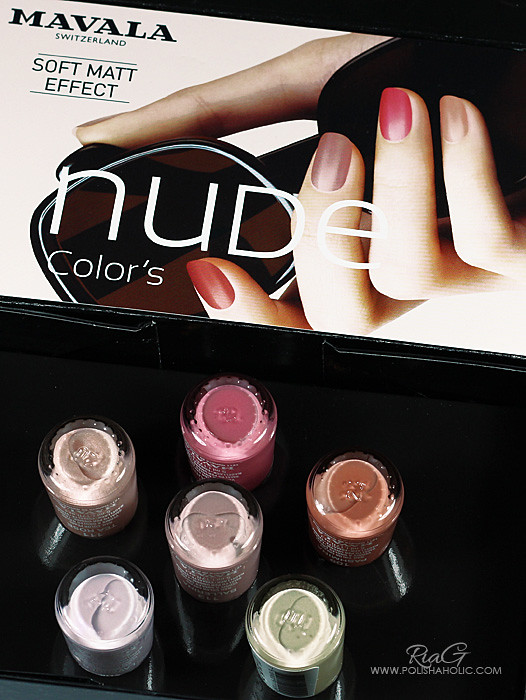
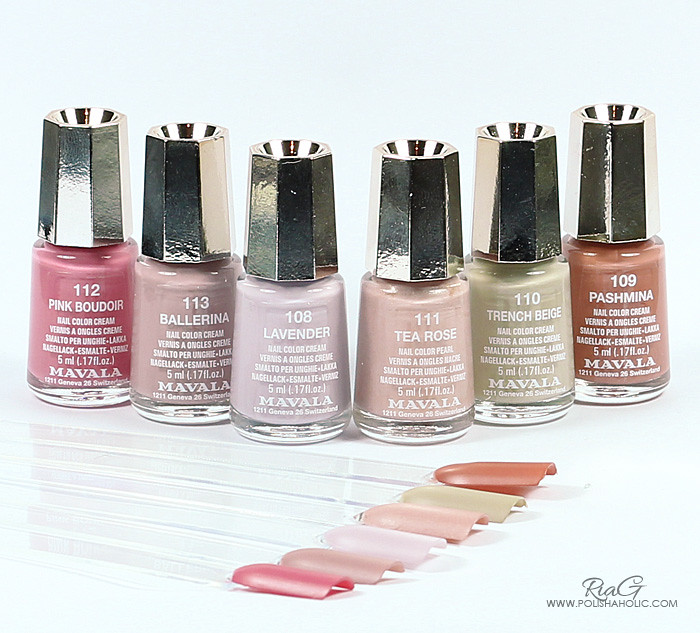
There’s still snow on the ground and winter hasn’t really even arrived at full force yet here in Finland. So what would be a better time to look forward to the warmer weather and let those spring collections roll out. Here’s what Mavala came up with for Spring 2015.

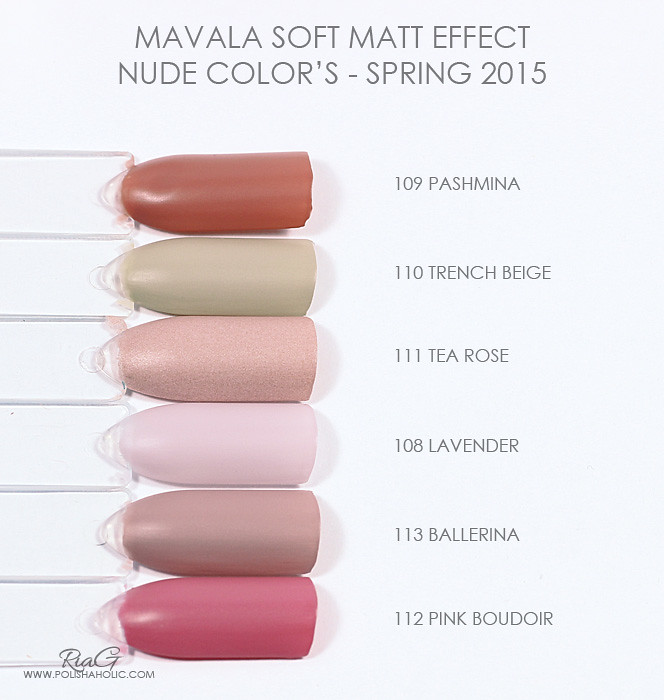
Matte polishes are making a big comeback and Mavala is on board with that. This collection has six beautiful and smooth matte shades that are perfect for spring. I did a quick test on a couple of nails and my first impression was that these are a little tricky to apply and they dry fast. I got the best result with one thick coat applied fast (except for Lavender which requires two coats). These bald easily so you don’t want to go over the same spot too many times. You can always use a matte top coat too to smooth out a surface or a shiny one if you don’t love the matte finish. Some of these are so well pigmented that I’m also going to try stamping with them.

All in all I love these soft shades and I already have a few nail art designs in mind.


***This collection was sent for review.  
 

Anastasia Beverly Hills = LOVE!

6

I have recently discovered Anastasia Beverly Hills brow products and I’m in love. Of course I knew the brand was out there but I never tried their products until now. I have quite thin and sparse eyebrows and they don’t match when it comes to shape. For the longest time now I have just used a brow pencil and accepted the fact that my brows are what they are. Now Anastasia Beverly Hills has opened my eyes to a whole new world and I have actually found some products that work perfectly for me.

I saw a ton of makeup photos with perfect looking brows. I saw hashtags like #anastasiabeverlyhills and #anastasiadipbrow. Then I started watching video tutorials on how these ladies do their brows and to my surprise some of them had eye brows similar to mine. They worked their magic with the right products and all of the sudden their brows looked perfect. So I figured I had to get me some of these products I saw them using. I wondered in to BeautyBay.com and did some shopping.


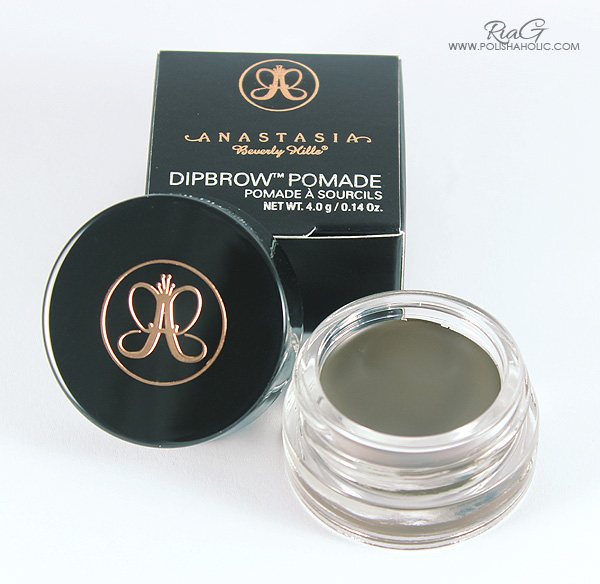
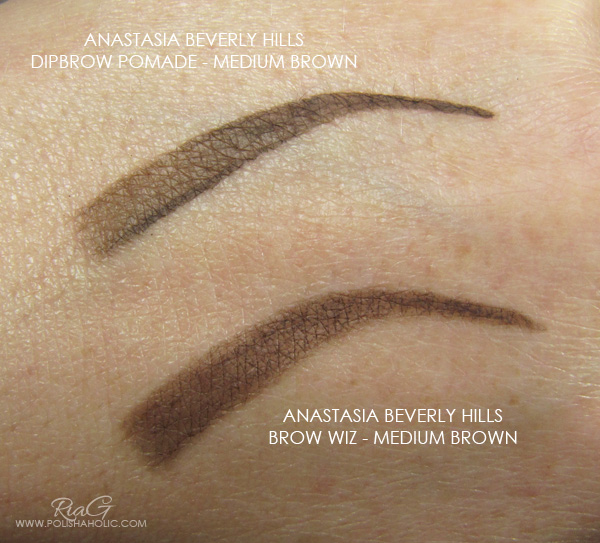
I started with Anastasia Beverly Hills Dipbrow Pomade in medium brown. I love this packaging! It’s beautiful to look at and it has a feeling of quality to it. This comes in a small glass jar and that 4 grams will take you a long way. I’m also considering getting this in taupe too.

Dipbrow is waterproof, creamy product that is very easy to use as long as you remember that less is more when it comes to this. I find it easiest to apply this using an angled synthetic brush. This is highly pigmented and with a little practice it’s easy to control how dark or light your brows will look like. Dipbrow stays on my brows very well all day long and is still easy to remove with Philosophy Purity 3 in 1 Cleanser I love to use.


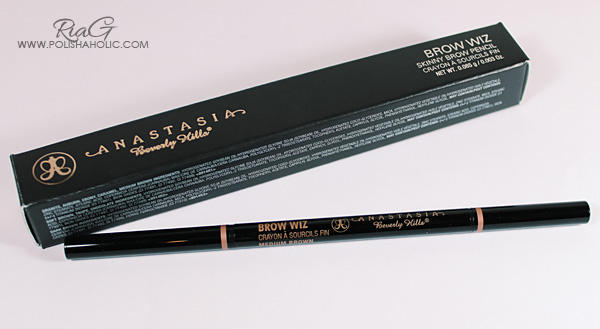
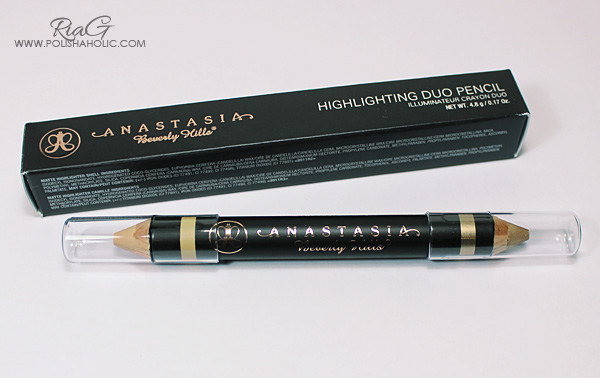
So after getting a taste of what Dipbrow could do for me I just had to go in deeper. Next I got Anastasia Brow Wiz in medium brown and a Highlighting Duo Pencil Matte Shell & Lace Shimmer. I’m still figuring out how to best use these but by far they are also working great. Now I just need to perfect my skills when it comes to using these new lovelies.

Now I find myself wanting more and more and next I’m planning on getting Anastasia brow gel and at least one of their brushes, maybe those tiny scissors too. I’ve become obsessed with eyebrows and it seems like I can’t get enough of this brand. Go figure! I got along just fine with a single brow pencil for years and now I’m going off the deep end :D I guess this is a situation every cosmetics addict has some experience of…


On the Highlighting Duo Pencil swatch I applied both colors generously.

And oh yes, there was one more thing I just had to get cos who doesn’t need a very pretty makeup pencil sharpener ;) This is a 3 in 1 sharpener and the right side works for medium size pencils with the insert in place and when you remove it you can also use this for larger makeup pencils.


Now I’m going to practice doing my brows and I’ll be back with another post and more detailed reviews of each product.


***All products were purchased by me.

I want a white holo…

12

Another quick post while I have a second to write something. I really need to have some posts ready and scheduled for a couple of weeks ahead :D Been so busy again and on top of all the Holiday madness our little girl turned 3 yrs old and all three kids managed to get a flu. Fun times for everyone…

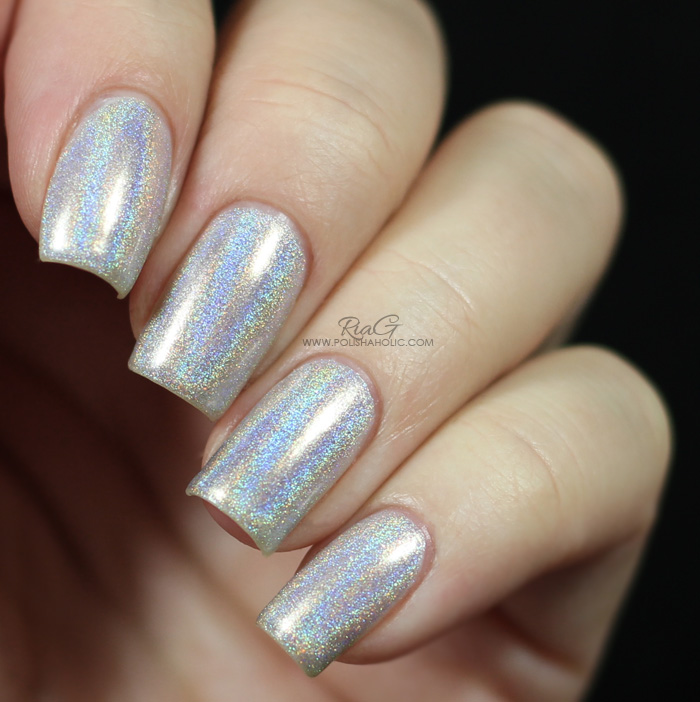
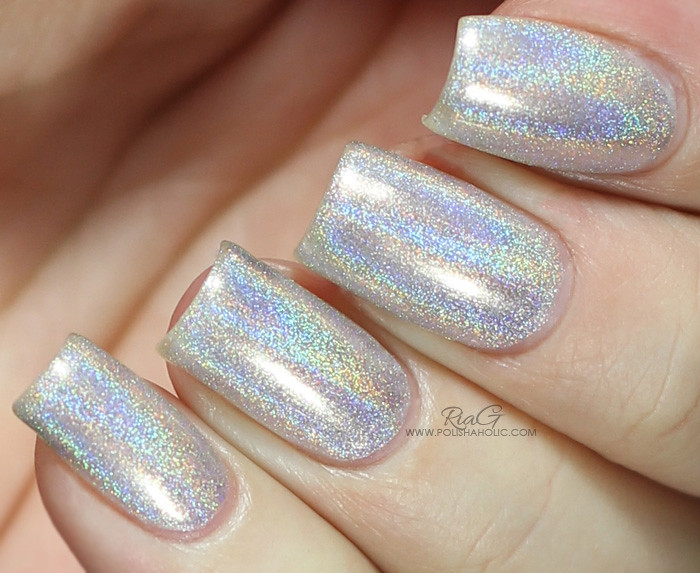
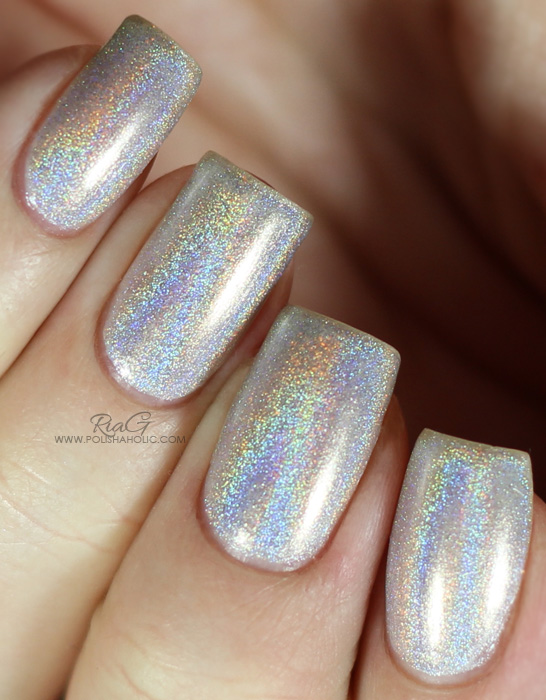
Sooo to the nails. I’ve been wanting a white holographic polish for a while and haven’t run into one anywhere. After all the Holiday manis and glitter I felt like I needed something fresh and simple and since I didn’t have that pure white holo this is what I did. I applied two coats of F.U.N. Lacquer Diamond holo top coat over Wet n Wild Break the Ice white shimmer and a coat of HK Girl top coat. Not pure white but still a pretty result IMO :)

I wore this manicure for days and now I’m ready for some New Year’s Eve glitter explosion again ;)


***The polishes used for this were purchased by me. I don’t benefit from clicking any of the links on this post.

Holiday nails for the last time this year :D

12

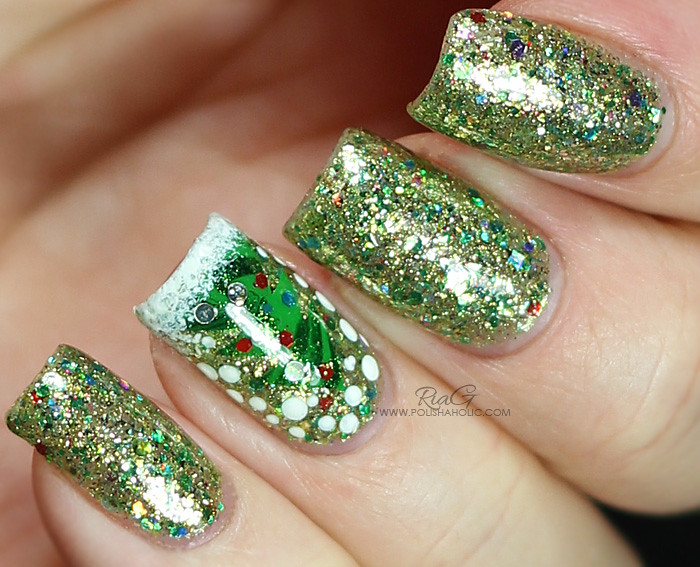
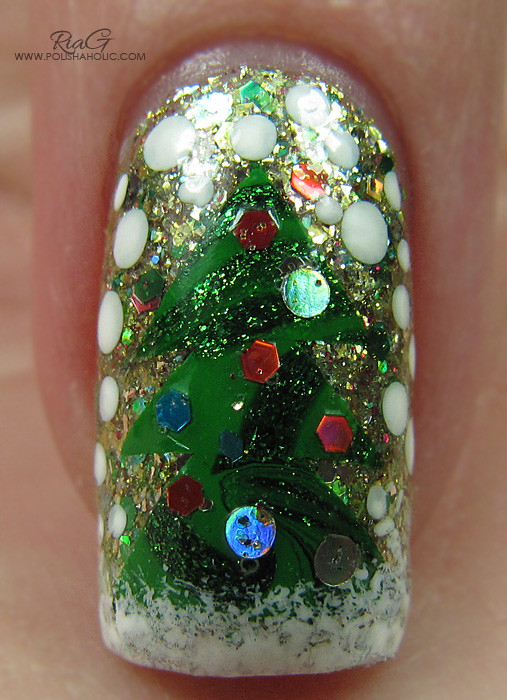
This is the manicure I actually had on for Christmas. The gorgeous green glitter is Jindie Nails A Surprise Inside. This is two coats alone on Glisten & Glow Stuck On Blu and topped with two coats of HK Girl.

Ring finger nail has a tree made with little triangle shape DIY decals I cut out of a watermarble sheet I left drying in the water. I placed some glitter pieces from A Surprise Inside on the tree and added the snow using white acrylic paint. The nail art was inspired by mymaynails and Mucking Fusser in IG.


You can buy Jindie Nails polishes from JindieNails.com or from authorized distributors. You can find the latest news, releases and restock info from their FB and IG.

Now I’m most definitely done, done DONE with all kinds of Holiday manicures :D


A Surprise Inside was sent for review. I don’t benefit from clicking any of the links on this post

Jindie Nails – Through the Eyes of a Child

4

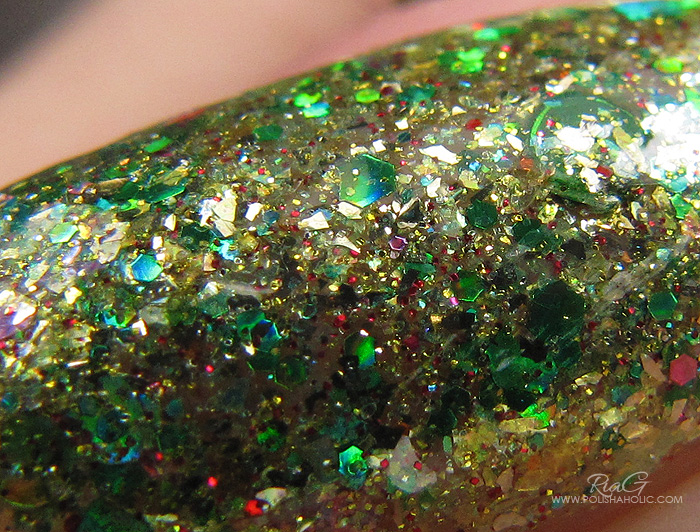
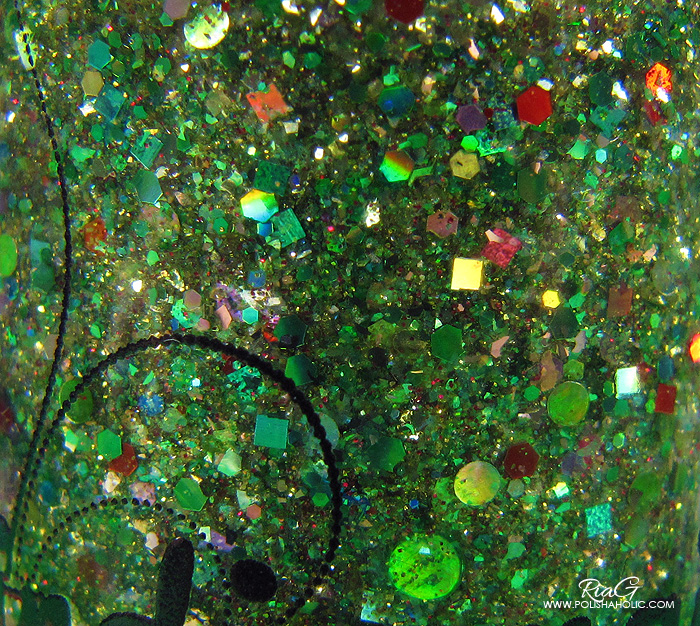
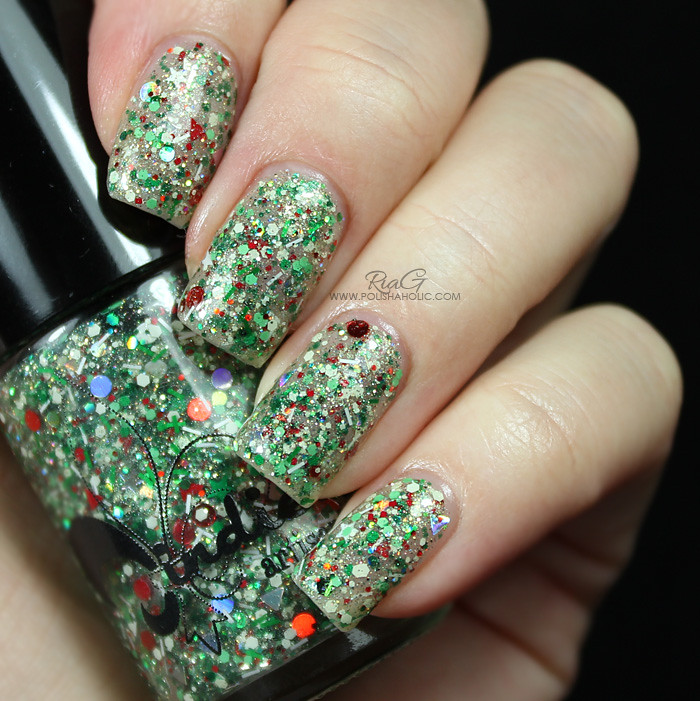
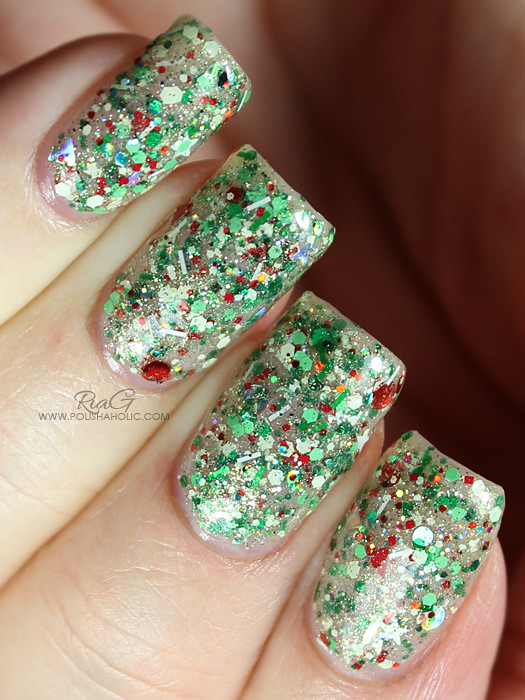
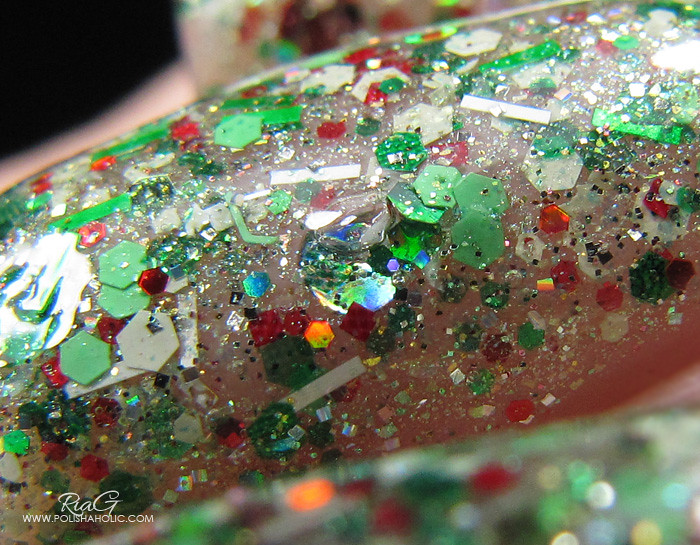
Here’s a quick post of a lovely new Jindie Nails polish, Through The Eyes of a Child. This works perfectly as a glitter topper and one coat is plenty enough. Since there’s so much going on in this polish I chose to wear it alone on a nude base. There’s an insane amount of different kind of glitter on a shimmer-y clear base in this bottle :D Even hearts and candy canes! The shimmery base made it look very beautiful when worn alone but I couldn’t quite capture on the photos all the sparkle it had.

Glitter comes out of the bottle pretty easy but I still recommend turning the bottle upside down for a bit before application. The candy canes take a bit of fishing but everything else comes out quite nice. Application was good considering how packed with glitter this polish is. If you use this as a glitter topper just one coat is enough and normal application will do. If you wear it alone like I did here you’ll need two coats and a little bit of dabbing the glitter here and there. I didn’t experience any difficulties with this polish and I love how it just screams Christmas :D


For this manicure I used Essie Beam Me, Essie Sugar Daddy, two coats of Through The Eyes of a Child and two coats of HK Girl top coat.

You can buy Jindie Nails polishes from JindieNails.com or from authorized distributors. You can find the latest news, releases and restock info from their FB and IG.


***Through The Eyes of a Child was sent for review. I don’t benefit from clicking any of the links on this post.


Delush Polish Glam Squad goes Holiday

18

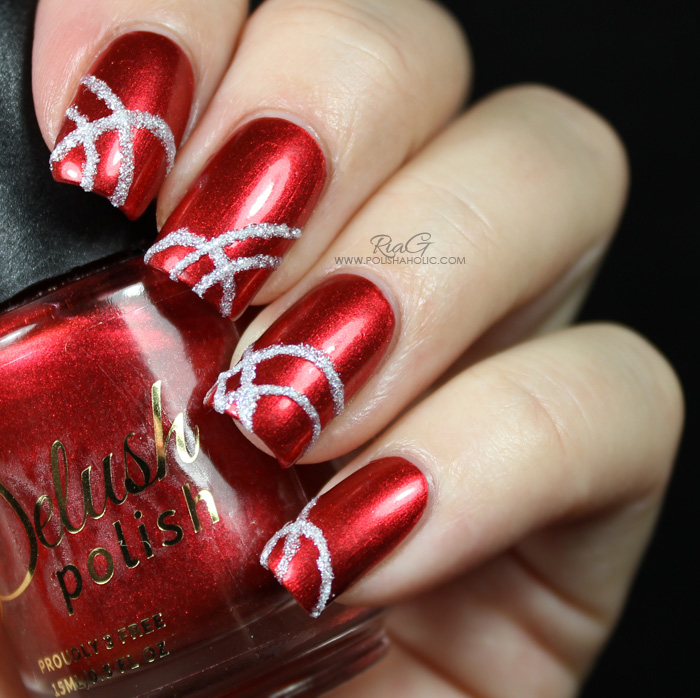
Today I have a brand new Delush Polish pretty for you. This is Glam Squad from the Nue Collection. My newest order of Delushies arrived yesterday and I just had to wear this one right away and naturally I wanted to you guys too :D

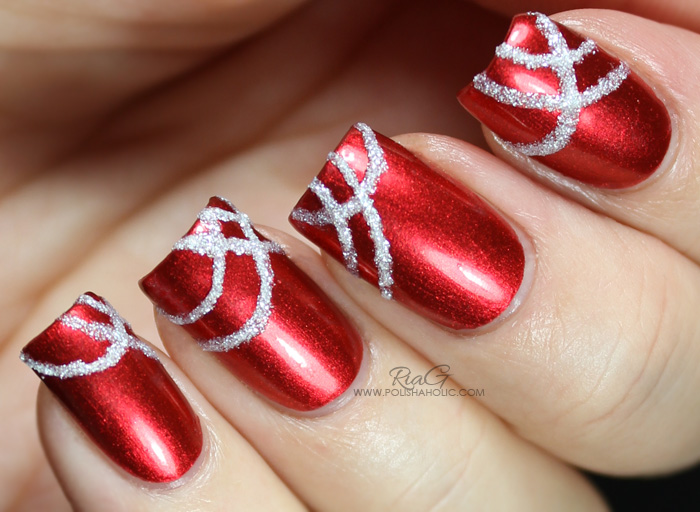
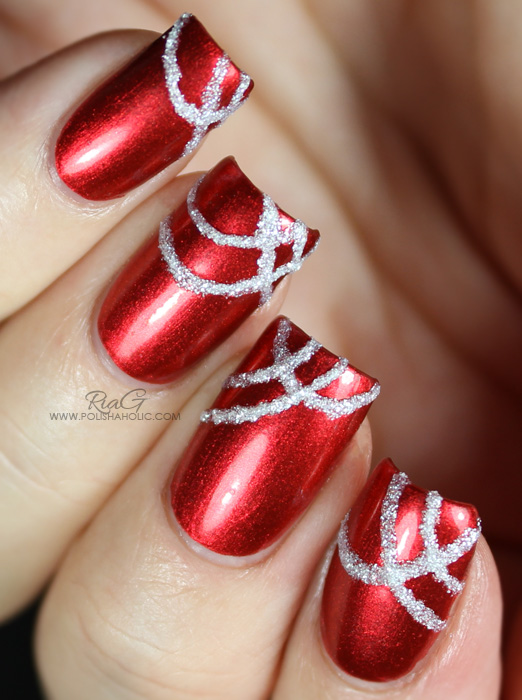
A stunning metallic red. I love this! Excellent application and almost a one coater for me. Dry time was also quick. This didn’t stain my cuticles on clean up. Other than that the jury is still out cos I’m still wearing this manicure :D I’ll update the wear time and other information here in a few days.

For this manicure I used a coat of Sally Hansen Nail Rehab, a coat of Glisten & Glow Stuck On Blu!, two coats of Glam Squad and HK Girl top coat.

The icy details were made using a fine nail art brush and Dance Legend Mountain Snow white texture polish.


***Glam Squad and Mountain Snow were purchased by me.  I don’t benefit from clicking any of the links on this post.

Jindie Nails – O Holo Night and stamping nail art

10

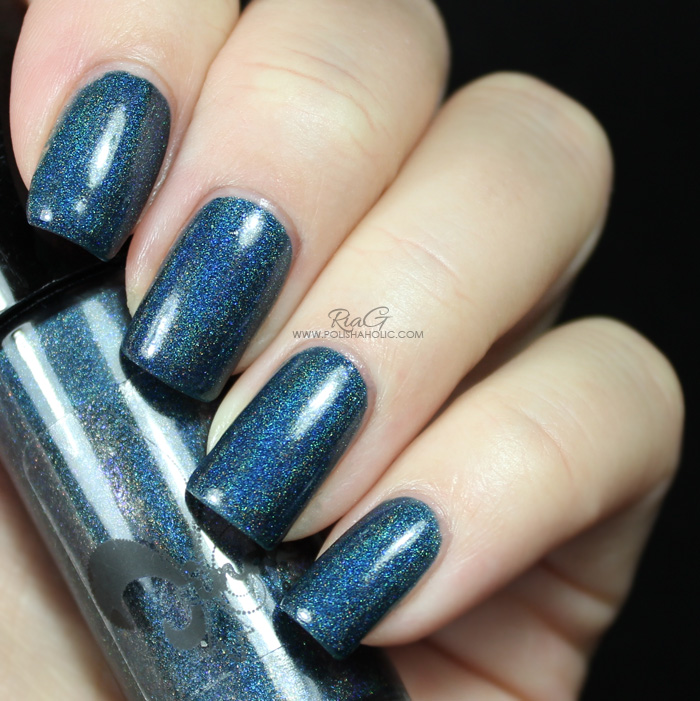
Happy Monday! It’s that magical time of the year and what would be a better polish to paint your nails with than the one that is called O Holo Night :D

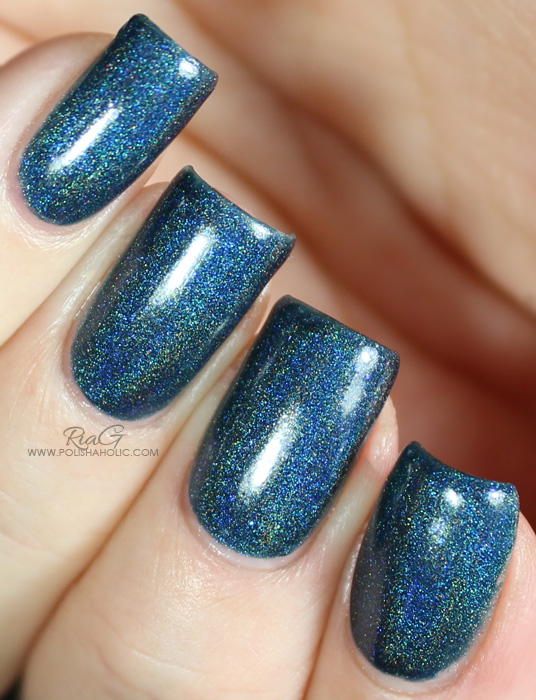
“This one is a blackened navy blue linear holo with violet/blue glass fleck shimmer and made with SpectraFlair, the most potent holographic pigment on the market.  This is opaque in 2 coats!”

Formula on this was very good. Easy to apply, no dragging or balding and it was almost opaque already on one coat. Dry time was quick and it didn’t stain my nails. Unfortunately this time of the year there’s not enough sun here in Finland to see the holo effect as amazing as it would be in direct sunlight so I just have to show you how beautiful this looks with just daylight bulbs.

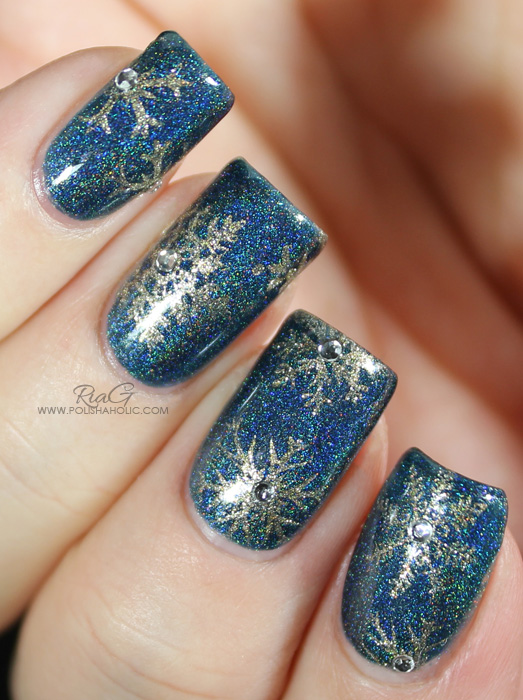
For this manicure I used a coat of Sally Hansen Nail Rehab, a coat of Glisten & Glow Stuck On Blu!, two coats of O Holo Night and HK Girl top coat.


Stamping is done with OPI Love.Angel.Music.Baby, squishy XL stamper and XL stamping plate OB-M. Rhinestones are from Konad Pro Rhinestone Pallet Set 7.

You can buy Jindie Nails polishes from JindieNails.com or from authorized distributors. You can find the latest news, releases and restock info from their FB and IG.


***All the products on this post were sent for review. I don’t benefit from clicking any of the links on this post.

Holiday theme nails with Dollish Polish Redrum

8

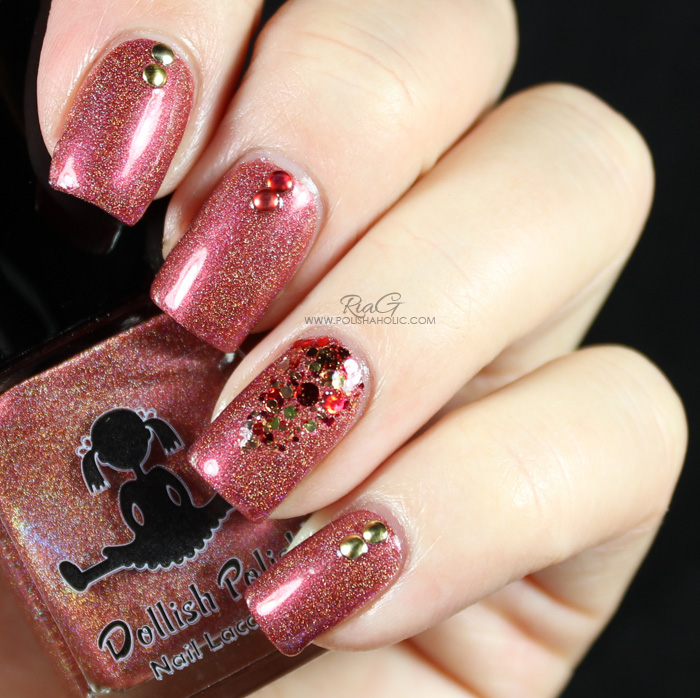
It’s December! I love this time of the year :) So now it’s also time for the first Holiday theme manicure!

For this manicure I used Sally Hansen Nail Rehab and Glisten & Glow Stuck On Blu! as my base coats.

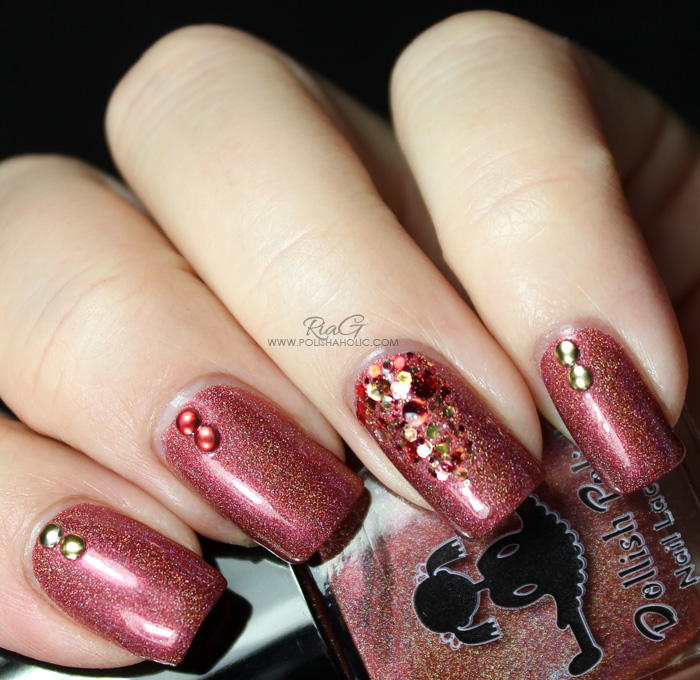
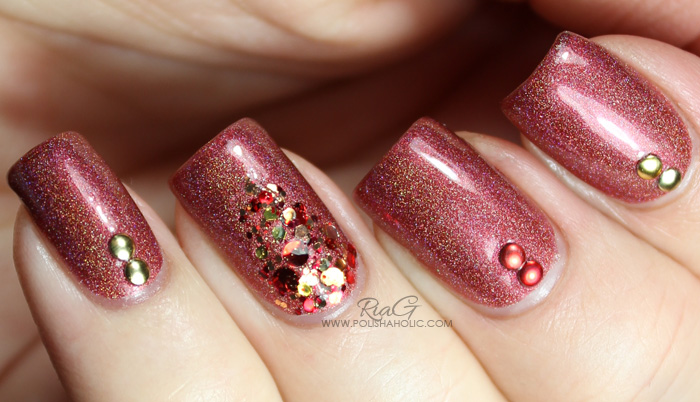
For all the nails I used Dollish Polish Redrum, not so Chrismas-sy themed holo polish from the Halloween collection. Unfortunately this is no longer available so you’ll have to wait till next year to see if it makes a return for Halloween then. This was too very easy coats. Dry time was fast and no chipping in three days when I wore this.

For the ring finger I used Chaos & Crocodiles Fireside Nights to get some sparkle.

At last I added some red and gold studs and finished the manicure with HK Girl top coat.


***Redrum and Fireside Nights were purchased by me.  I don’t benefit from clicking any of the links on this post.