Author: RiaG

Jindie Nails – Love Conquers All

6

Happy Valentine’s Day everyone!

Today I have a perfect polish for the day, Jindie Nails Love Conquers All. This is a white crelly polish with a lot of different kinds of glitter including different colored hearts. This looks a lot bumpier on the photo than it was IRL. The hearts came out of the bottle just fine, no fishing needed and on the photos I have two coats of polish on my nails plus Inm Out The Door. Unfortunately I was in a hurry doing my nails and I think if I had a little more time and patience applying this polish it would’ve ended with a lot smoother result. This polish most definitely deserves a revisit and new swatch photos at some point.

You can purchase Jindie Nails polishes from their Etsy-store (which is sometimes closed) as well as LlaroweMei Mei’s Signatures and Ninja Polish. You can find the latest restock and other info from their Facebook page.

Also my nails haven’t magically grown length overnight. Like I was explaining on Tuesday’s Nourish Me report post, I used UV-gel to make my nails stronger. Of course I got greedy too and added some length. I’ll  write a post about the gel applying process tomorrow.


ABC Challenge – F is for Fantasy Fire with a feather

38

Yay! It’s the ABC Challenge time again! This week we are all doing letter F and I can’t wait to see what everyone is doing with that one. I know there was some interesting ideas in the air a few days ago ;) Before I get to the point I just want to say thanks to all the awesome ladies in this group for making this challenge so much fun and I’m very happy to have met you all in this online world :))

Now let’s get to the point, shall we? For the letter F I chose Max Factor Fantasy Fire and then I decided to throw in a third F in a form of a feather. I used Elevation Polish Pic De Sotllo (I’ll write a post about this too soon), a very bright vibrant blue creme as a base for Fantasy Fire. That blue base really brought out the multichrome beauty in this one. Then I applied two coats of Fantasy Fire and Inm Out The Door top coat. I added a feather over the wet top coat and let it dry for a bit. Then added a couple of more coats of Inm on top of the feather and let dry again. In the end I cut off the part of feather that reached over the tip and filed the tip of the nail smooth, then sealed it with Inm. The feather stayed on perfectly for 2+ days.

I apologize for the crappy cell phone photos, but my regular camera just completely freaked out with Fantasy Fire and refused to capture any of the awesomeness. I’ve noticed that my iPhone 4S can capture the difficult colors much more accurately.


Essie Nourish Me report – I give up…

10

Last time I said I’d let my nails grow length for 2 weeks and see what happens then. Well, I know now and I give up for now. Already after a week and a half my right hand nails started to fall apart completely and I was right back at where I started from. I think I might be lacking something in my diet or the two pregnancies that were quite close to each other really took their toll on my nails. Either way, I don’t think a product that can make my nails better exists right now.

I still strongly believe that Nourish Me is an excellent product that can help many of you out there that are suffering from peeling and dry nails. This even worked on my hopeless nails as long as I didn’t try to grow any length on them. Truth is though that length of my nails is a big deal for me and right now I want more than I can naturally get so I decided to use uv-gel to make my nails stronger. It’s easy for me cos I already have everything I need to do that and I can do it myself. I already applied the gel coating on my right hand nails but now I’m getting greedy and I want to use tips to get the length on my left hand nails immediately. Later I would let the tips grow out and only coat my natural nail with gel.

So this is how my base coat test ends this time. I don’t have the patience to try anymore. I do not blame Nourish Me for this disaster. I think the blame lies elsewhere at the moment and I will continue using it again after I get tired of having gel on my nails. I hope my little test and reports gave useful information and maybe someone else can find the help they are looking for from Nourish Me :)


Left hand nails still looked ok after  a week and a half. Now they are starting to peel too.
Do I need to say anything here? :(
Thin coat of UV-gel to protect my right hand nails.


Nail Pattern Boldness – Glitter Food

7

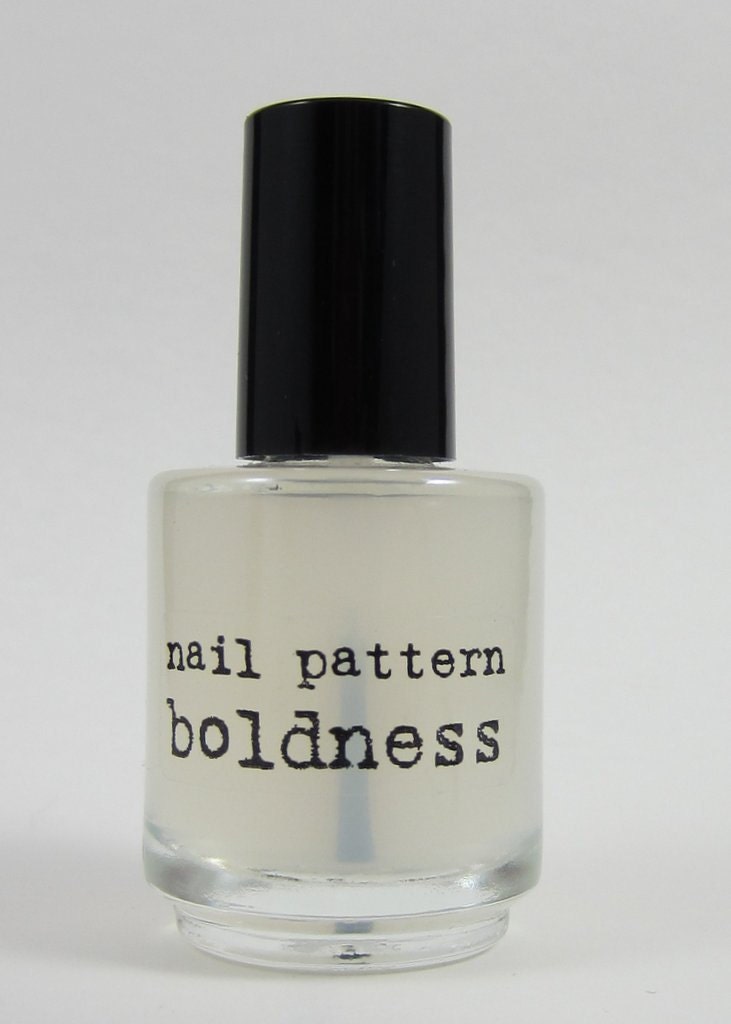
I got a bottle of Nail Pattern Boldness Glitter Food top coat to test and I’m in love! This top coat is thick and milky-ish and it smooths down even the grittiest glitter out there and creates a glass like surface. By itself Glitter Food dries a bit cloudy and matte looking but once you add a shinier top coat the sparkle is all there.

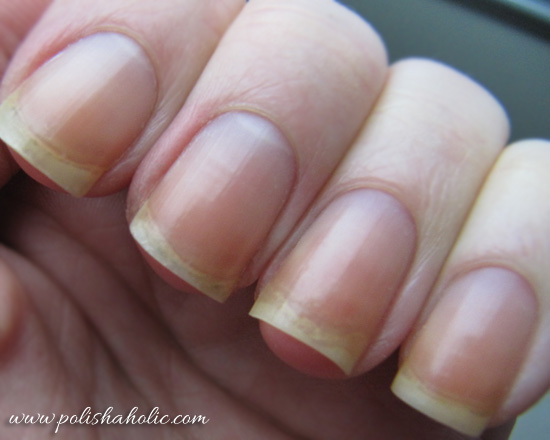
You can also use this to fix your glitter polishes that have gone flat while sitting there in your polish drawer. Add some Glitter Food in to the bottle, shake and it’s all good again. Glitter Food restores the needed thickness to the base of your glitter polish. Third way to use this is to help you create your own glitter or pigment frankens. Sometimes the clear base just needs that added thickness and suspension and that’s where Glitter Food comes in. This product is so worth it’s price!Over at Nail Pattern Boldness they have also begun to test this as a base coat for those polishes that need a perfectly smooth surface to be applied on. I myself will definitely try this as a base coat for acrylic/gel nails to see if this can hide the growing line that becomes visible even through your nail polish after a couple of weeks from your nail fix. I hate that visible line and that is one of the reasons why I’m still fighting with my peeling nails and keeping them natural instead of coating them with gel. I’d be a very happy polishaholic if Glitter Food could fix that problem for me.


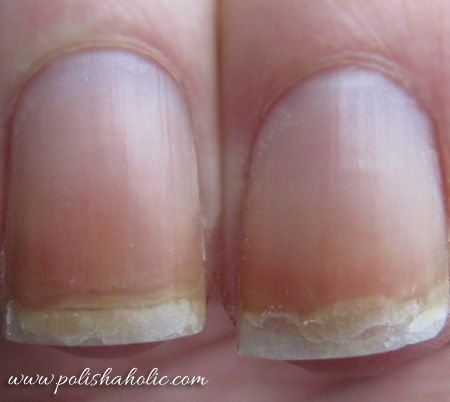
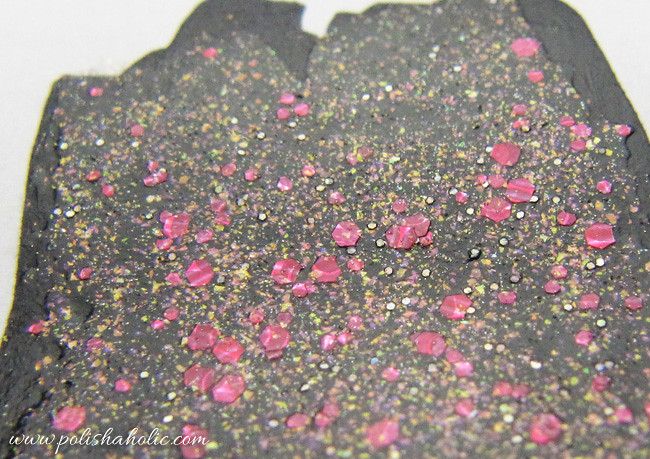
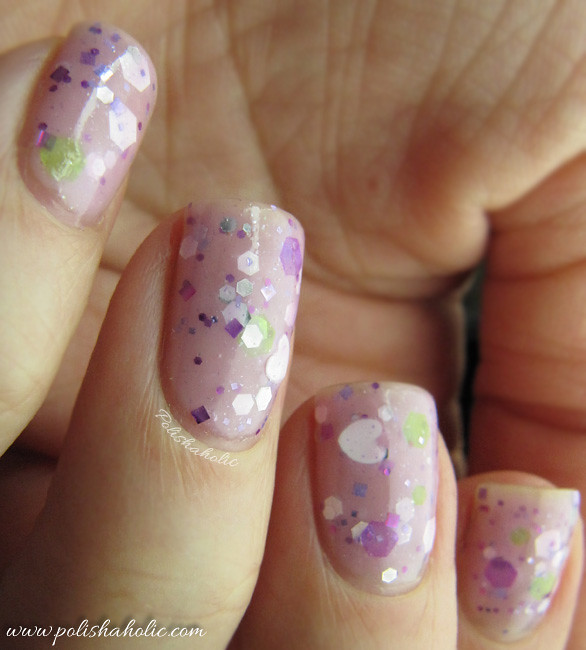
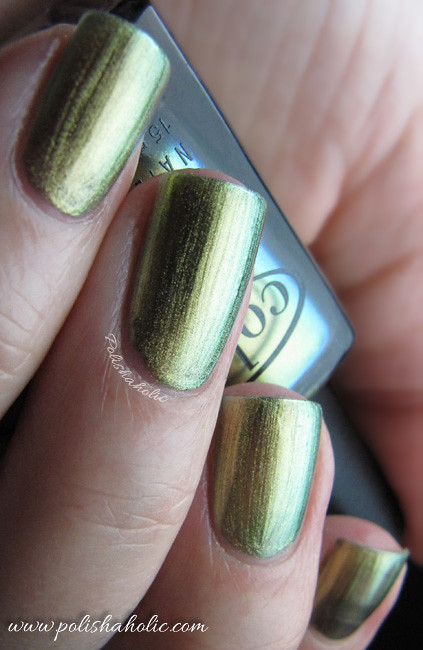
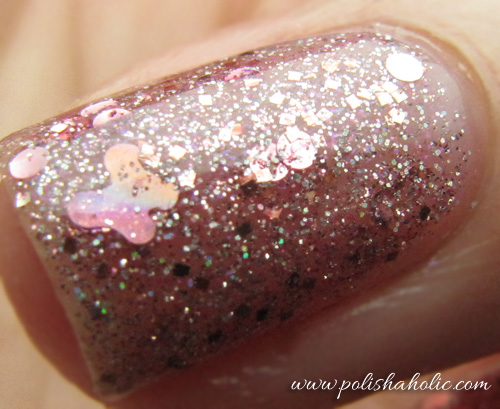
Only the glitter polish. You can see how the glitter is not totally smooth.


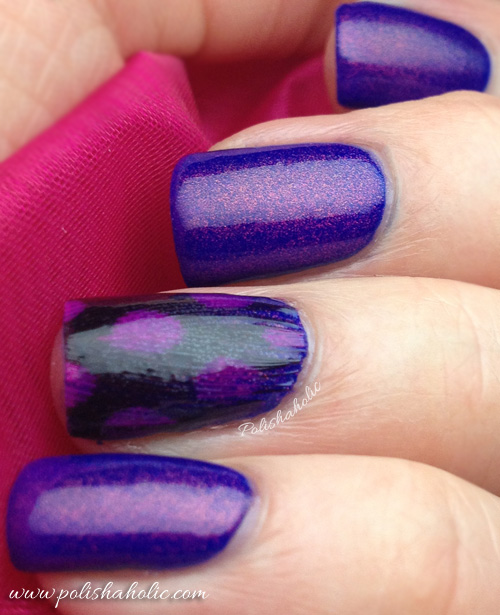
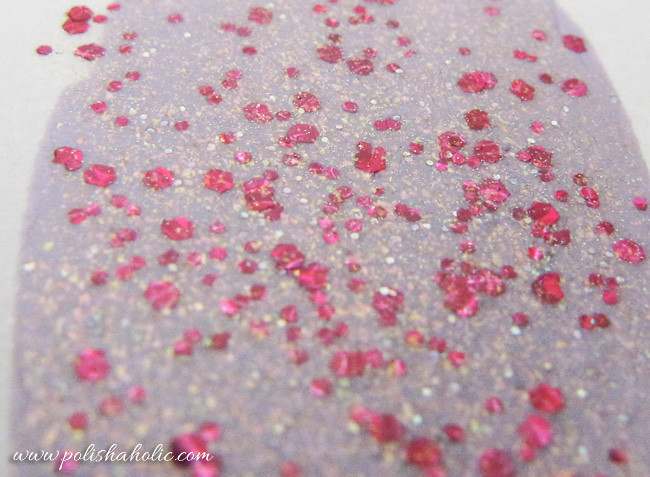
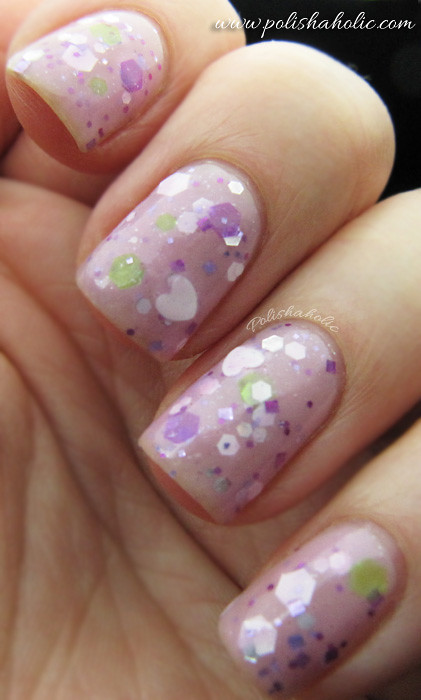
I have now applied a coat of Glitter Food and you can see how it dries matte-ish.


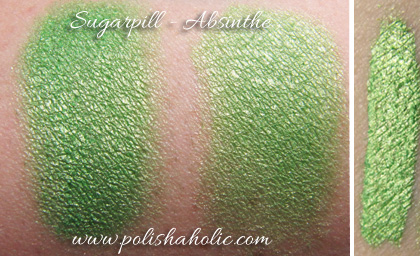
This is a little blurry but you can still see the smooth surface on the left side compared to plain polish on the right.


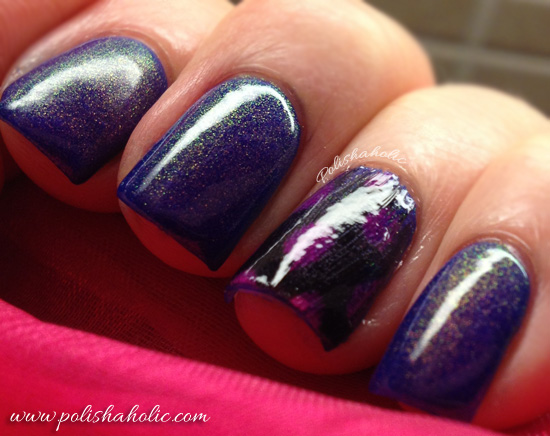
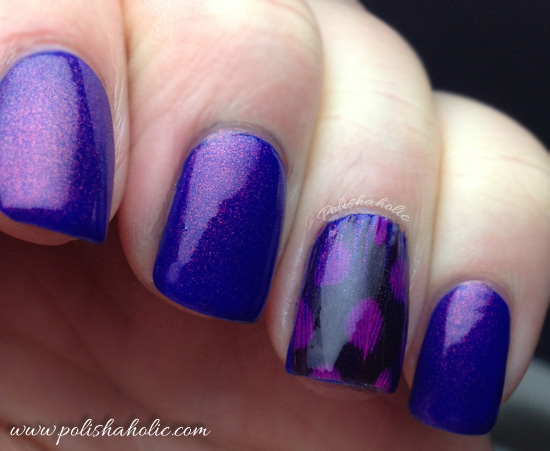
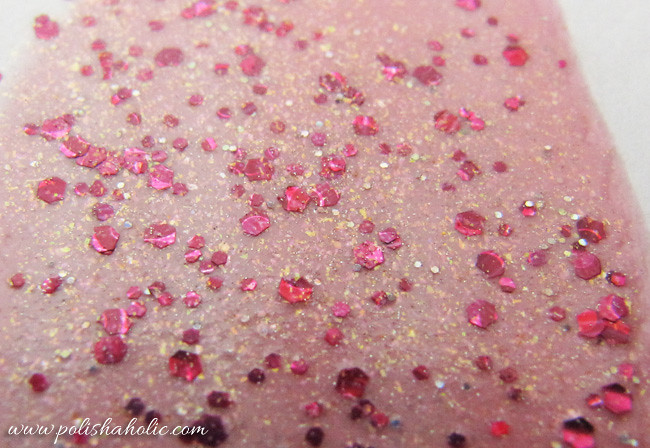
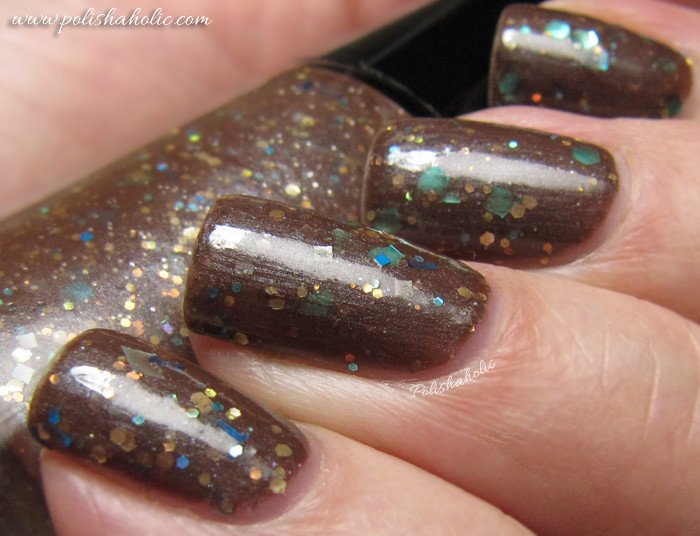
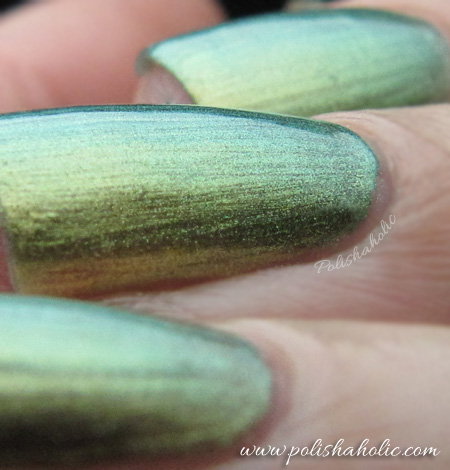
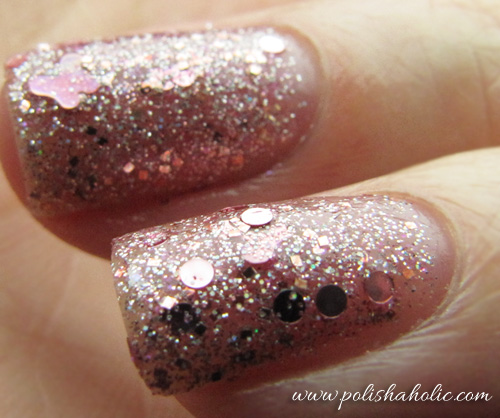
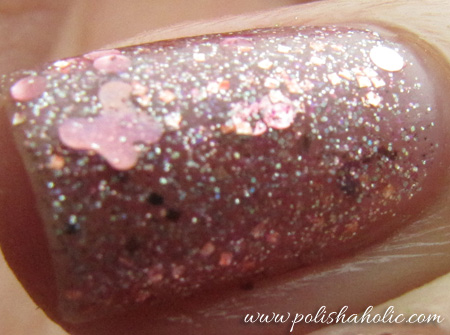
Now I have added Inm Out The Door on both nails. You can see the shiny and sparkle is back on the left side nail and it also has this added depth that is missing from the nail with only Inm on it.


Surface of the nail is silky smooth and shiny.


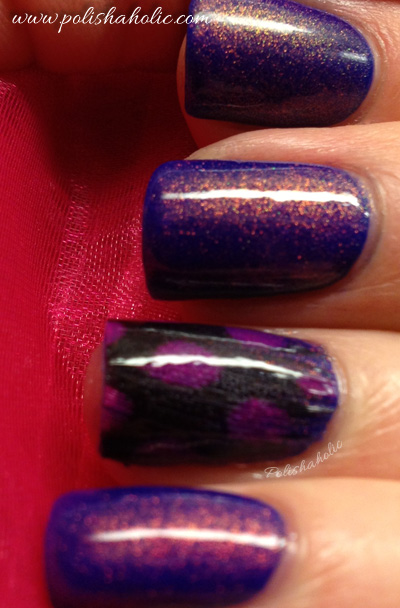
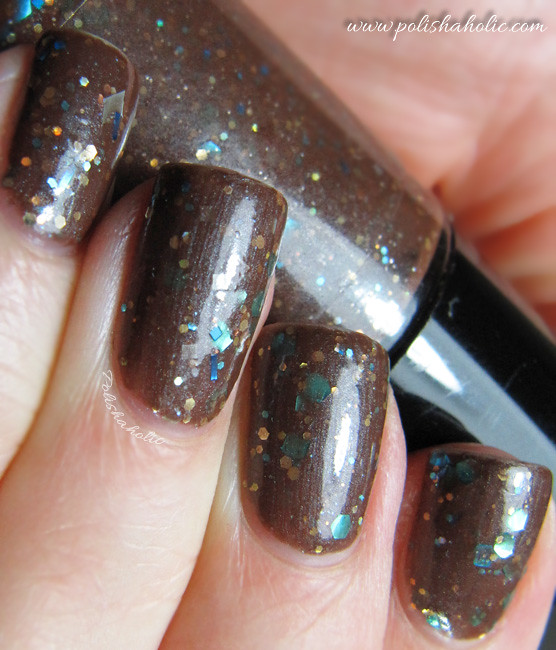
Again a little blurry but you can clearly see the difference between the left side Glitter Food+Inm nail compared to the right side only Inm nail. Glitter Food rocks!


Photo from Nail Pattern Boldness

I’m totally addicted to Glitter Food now that I’ve gone glitter polish crazy lately. I will need to order a couple of more bottles of this so I can try it on frankening too. I can’t make myself  “waste” the only bottle I have on that right now.

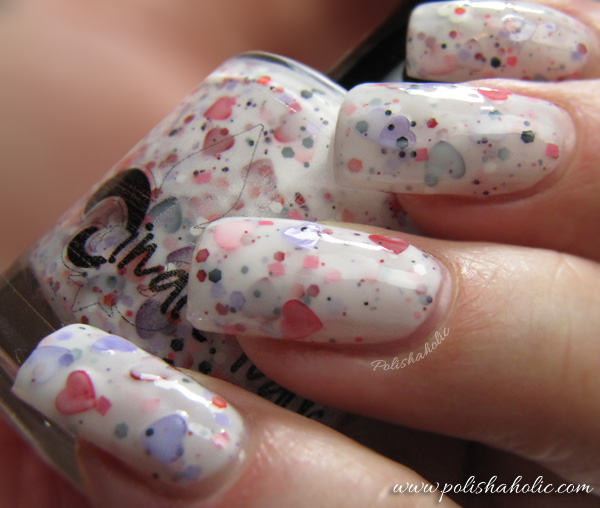
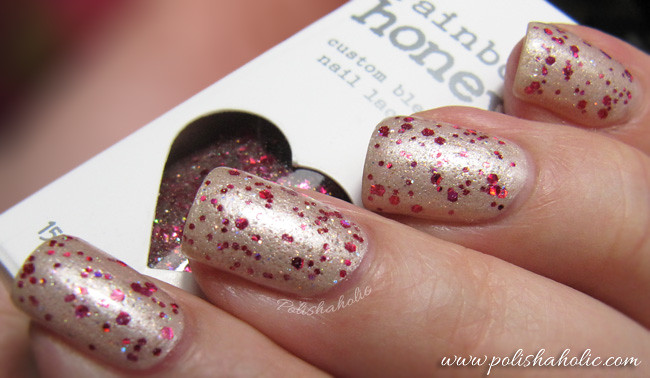
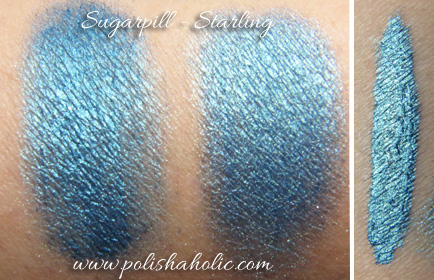
For these photos I also used Nail Pattern Boldness Is Someone Loving You? from their new Hello? collection. You can find more photos and my review of it here

You can buy Nail Pattern Boldness Glitter Food from their store. You should also follow their Facebook-page and blog to get the latest info on new products and restock dates.


***This was sent to me for review.

Rainbow Honey – XOXO

2
I ordered my first Rainbow Honey nail polish a while ago and chose to get XOXO from their new Sweet Talk collection.

XOXO has golden and holographic micro-glitter and bigger different sized red hex glitters on a clear base. This is at it’s best when layered with another polish. The red glitter pieces remind me of rose petals. This is a very beautiful glitter polish that can be used with a lot of different colors.

I have two coats of base coat, two coats of nude Color Club Linen & Silk and one coat of XOXO plus Inm Out The Door top coat on my nails. The formula is a little on the thick side, even a little gel-ish but very easy to apply and the glitter spreads out evenly without any tricks.

I tested this out on a white paper and four different colors just to see how it looked with other polishes. Turns out this looks especially sweet with pink and white polishes.

I bought this from Mei Mei’s Signatures along with another polish and it was my first order from them. Customer service was just excellent and shipping was quick. You should also follow their Facebook-page for further information about restocks and new products.


XOXO over Color Club Where’s The Soiree?
XOXO over Essie Lilacism
XOXO over OPI Alpine Snow
XOXO over Color Club I Believe In Amour


Jindie Nails – Barney Blew Up

10

Surprise, surprise it’s indie glitter polish time again! Lately I’ve gone head over heels crazy over indie brands and especially glitter polishes. I hope you like to see these as much as I do :)

This amazing glitter overdose polish is Jindie Nails Barney Blew Up. Just the name was so cute and appropriate that I just had to have this and it is unlike anything else in my collection. Very pale lilac crelly base has a ton of different kinds of glitter pieces. There’s squares, hex glitter, bigger hex glitter, hearts and what not. It’s a wonderful, cute and spring-y glitter explosion on your nails. It might be the green hex glitter that makes me think of spring.

This is your typical indie glitter, a bit on the thick side but not impossible at all to apply. I started by applying one normal coat of Barney Blew Up on top of my base coat and let it dry for a bit. I turned the bottle upside down while waiting so it would be easier to fish out the bigger glitter pieces. After the first coat had dried for a bit I went hunting for the bigger hex pieces and the hearts. I placed those on my nails and added a coat of Nail Pattern Boldness Glitter Food and Inm Out The Door top coat.

Jindie nails is quite a popular brand and you can purchase their polishes from their Etsy-store (which is sometimes closed) as well as Llarowe, Mei Mei’s Signatures and Ninja Polish. You can find the latest restock and other info from their Facebook page.


BG Cosmetics – Chocolate Treasure

10

BG Cosmetics aka Bitch Glitz is a new indie brand that makes nail polish among other things. I saw swatch photos of Chocolate Treasure in several blogs and it looked so delicious that I just had to order it myself too. Chocolate Treasure is one of the three polishes from their Valentine’s collection. This one did not disappoint me IRL either. The shade is amazing chocolate brown and it makes me feel like I want to taste it :D The different color, size and shape glitters look great in this one and I especially like the bigger turquoise ones. The formula is a bit on the thick side but still very easy to apply. Two coats was enough for opaque result. The glitter came out of the bottle very easily and there was no need for fishing for it or keeping the bottle up side down first. This dries a little rough cos of all the glitter but just a coat of top coat helps a lot. I also used a coat of Nail Pattern Boldness Glitter Food with this. Dry time was normal with Inm Out The Door.

You can buy BG Cosmetics products from their store. BG Cosmetics also gives out this info about their nail polishes “All polishes are 3 Free and 15 ml bottles. They are all made with diamond dust for added chip resistance and longevity”. So click on the link and go check out their store!


ABC Challenge – E is for Editorial

40

It’s time for letter E this week and for that I chose Color Club Editorial. I didn’t have anything cool for E so I just took the easy way out ;) I actually bought something but it didn’t make it here in time :( Editorial is one of the eight thousand Chanel Peridot dupes out there. I can actually still find Peridot from the local stores here but I can’t justify paying almost 30 euros for the shade I kinda already have. So I’m sticking with Color Club’s much more affordable version instead.

Editorial is gold and green duochrome. For this I only applied one coat. The first time I tried it I got a lot of bubbles. It could’ve been the base coat though. This time I used one coat of Essie Nourish Me and had no issues. As you can see it looks a bit brushstroke-y on the photos but not so much IRL. This one is definitely worth getting if you’ve been thinking about getting Chanel Peridot but the price gets in the way and you don’t already own one of the dupes.

So this was my entry for the letter E.


KKCenterHk 1.5 mm nail art studs review

10

KKCenterHk sent me some 1.5 mm circular nail art studs for a review. These studs are quite tiny and I liked them a lot. They were very easy to place on the nail and cos of the curved bottom they didn’t damage the wet manicure at all. Instead they kinda sunk into it a little without leaving a mark or a wrinkle into the polish. They lay so flat on the nail that I couldn’t even pick them off with my nails (yes, I tried). I applied these on the not yet dry manicure and sealed them in with a top coat. These stuck on so tight they would have stayed on my nails for days and days but I only wore this for a day and a half.

In this mani I used three coats of Color Club Who Are You Wearing? and then used Color Club Reddy Or Not to do the heart with a dotting tool. I applied the studs on the wet manicure and slightly pressed them down on to the nail. I topped it off with a coat of Inm Out The Door.

These studs were very easily removed with acetone free nail polish remover. Actually so easily that they were all nice and clean on the cotton wool pad and I was able to pick them up for another use ;)

The bag holds about 50 pcs of studs and that is my only complaint. I liked these so much I’d like to get them in a bigger bag than 50 pcs. These are so tiny it’s easy to use a lot of them on a more complicated nail art design.

You can find these nail art studs from KKCenterHk and if you use the code “polishaholic” you’ll get -10% off.


***This was sent for a review


Sugarpill Reckless Loose Eyeshadow Trio

0
Happy Sunday! I hope everyone is having a great weekend :) It’s been a lazy and slow weekend for me.
This time I have swatches of Sugarpill Reckless Loose Eyeshadow Trio for you. This package has Absinthe, Starling and Stella eyeshadows. I swatched these over Urban Decay Primer Potion Original on the left and GOSH cream eyeshadow stick on the right. Separate swatch on the right side is with Make Up Store Mixing Liguid which can be used to make your loose eyeshadow work as an eyeliner. UDPP seemed to work better than the cream eyeshadow and brought out the best in these shadows. These apply silky smooth and the result is very shiny.

You can buy these as a trio or one at a time from Sugarpillshop.


Sugarpill Absinthe
Sugarpill Starling
Sugarpill Stella