Category: Brands

ABC Challenge – N is for No Way Jose

34

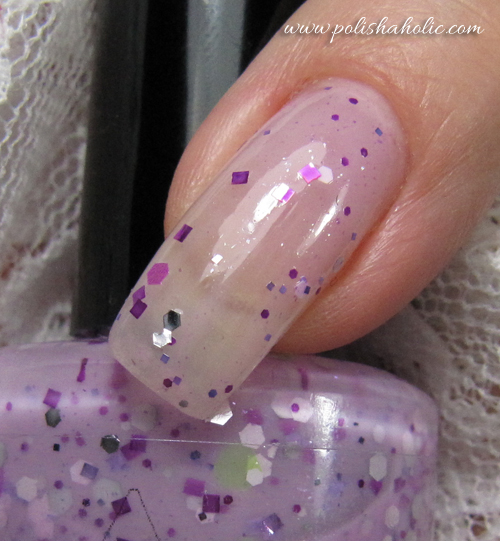
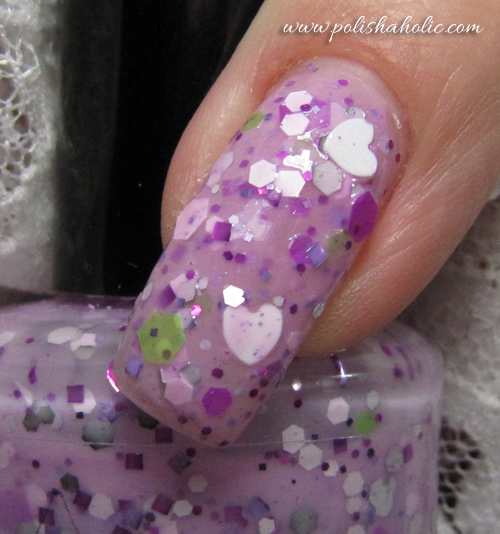
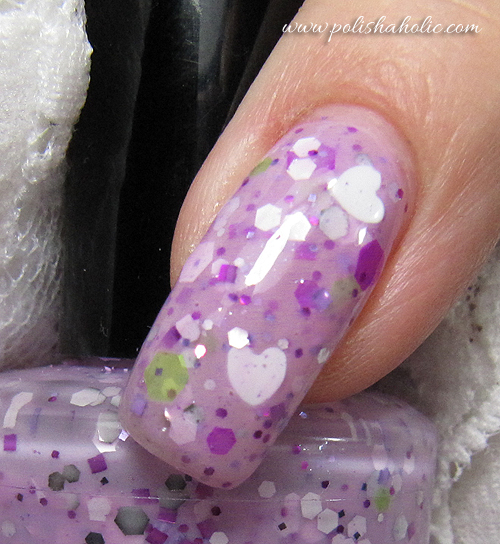
Wow! It’s Wednesday again and already time for the letter N. Time just flies past so fast it blows my mind! For this week I chose another oldie but goodie, China Glaze No Way Jose. This is a very shimmery light purple shade. Very beautiful and just perfect for this time of the year. This one might be HTF nowadays but at least a while ago you could still find it from eBay.

On the photos I have three coats of No Way Jose and a coat of HK Girl Fast Drying + Super Shiny top coat.

Don’t forget to visit all the other lovely ladies on this challenge :)


How I apply the glitter bombs and products I love to use

4

This is probably old news for many of you and if you have a ton of those chunky indie glitters this might not be interesting to you at all. I believe there’s also a few of you out there that don’t own any glitter bombs yet and for you guys this post might be useful. So here’s a little tutorial of how I apply a polish that is packed with glitter and the products I love to use to get the best possible result. Nail polish I used for this is the first bottle of Jindie Nails I ever bought, Barney Blew Up.

Before I start I usually turn the bottle upside down for a few minutes and shake it lightly.


Here I have applied one coat of polish. I have a UV-gel coating protecting my nails so I don’t use any base coat. For the first coat I don’t try to get too much glitter. In fact I usually try to get as little as possible. Just apply a thin, even coat of polish.


Now I’ve applied the second coat and for that I try to get a good amount of glitter too. It’s important to let each coat dry for a little bit before applying the next. If you try to work too fast you might drag some of the bigger glitters out of place. With this polish you can easily stop here, especially if you have shorter nails. I went for a third coat.


So here’s three coats of Jindie Nails Barney Blew Up. I usually apply three coats cos I love the sandwich effect that these crelly based polishes have. But as you can see three coats can be a little rough looking. It’s not that bad IRL, camera makes it look a little bumpier than it actually is. So if you don’t mind feeling some of the glitter through your top coat you can just add your top coat right now or continue to the next step.


I like a smoother result myself so I use Nail Pattern Boldness Glitter Food. This stuff is AMAZING!! It smooths these glitter bombs so nicely. I can’t live without it anymore and just ordered another bottle so there’s no risk of running out of it. So here is one coat of Glitter Food on top of the glitter polish. It dries a little cloudy so you will need to use a top coat of your choice to get your manicure to shine again.


And here’s the top coat added to the nail. As you can see the shine comes right back on. I  used HK Girl Fast Drying + Super Shiny top coat. It is actually so shiny it made my camera freak out a little, hence the blurry photo :P I have a review of this top coat coming later on after I have tested it a little more. I can say though that I’m already so convinced about it’s greatness that I just ordered two more bottles ;)

So this is how I apply these lovely glitter bombs I have grown so fond of. I just wanted to share this especially with those of my readers who are interested in polishes like this but don’t own any yet. Now you know what to expect with the application. These types of polishes don’t apply like your good quality creme or shimmer polish and these take a little more patience. So when I say in my reviews that this polish applied well I mean well for a glitter bomb. This is by no means rocket science but it still has it’s own little tricks :)


***Glitter Food was sent for review/Glitter Food saatu ilmaiseksi kokeiltavaksi

Color Club – Take Me To Your Chateau

2

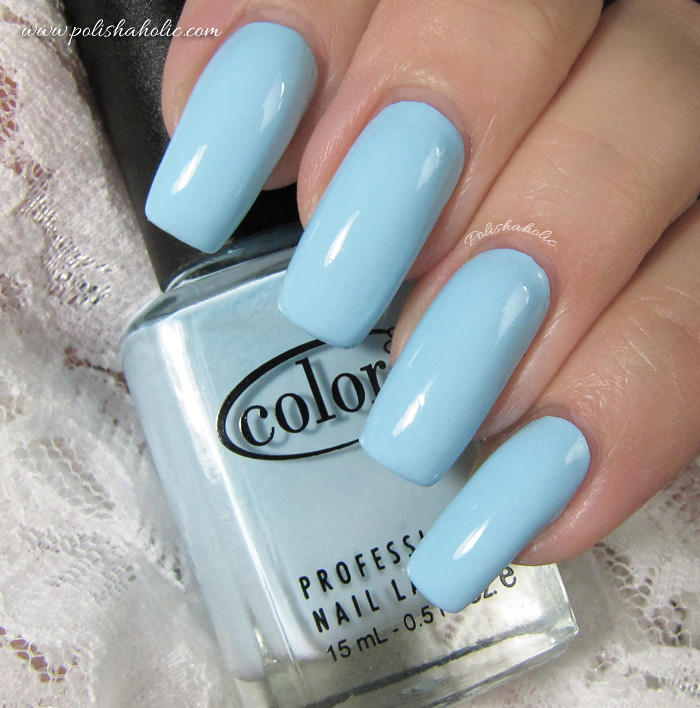
Hi everyone :) Here’s another polish I love to use as a base for nail art and layering glitter polishes. This is Color Club’s Take Me To Your Chateau from their Spring 2010 Pardon My French collection.

Take Me To Your Chateau is a very pale baby blue creme. This is very well pigmented, almost a one coater even for my longer nails. On the photo I have two coats of Take Me To Your Chateau and HK Girl fast drying top coat. I really love this pale blue shade. It works great with a lot of other colors and nail art styles too.


Jindie Nails – Barbie Is Dreaming (Mei Mei’s Signatures exclusive)

8

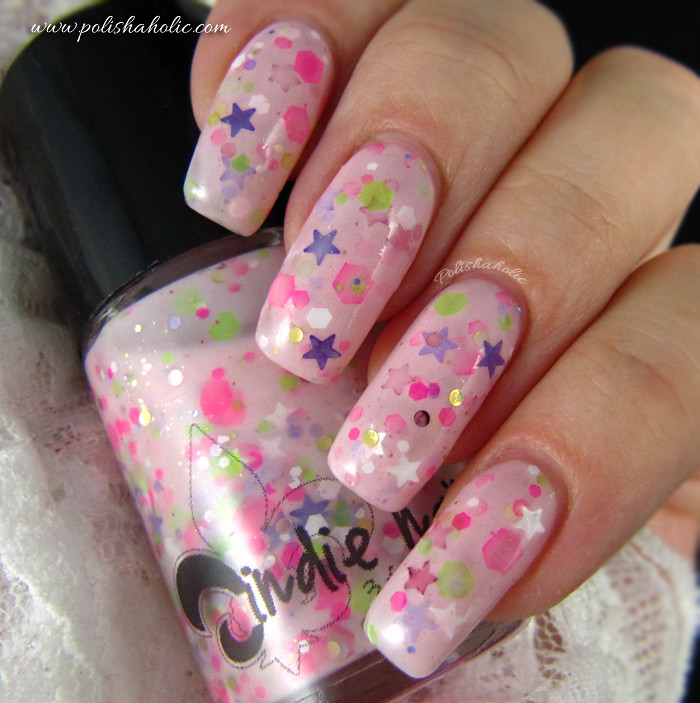
Hello my fellow polish enthusiasts! Today I have a new Jindie Nails, Barbie Is Dreaming for you. This polish is sold only on Mei Mei’s Signatures. Barbie Is Dreaming is a very pale pink crelly with a lot of glitter. This one is so very cute and girly. Colors are perfect for spring and summer too. Neon hexes, star shaped glitters in three different colors, etc. It’s just so much fun :D I really like the baby pink base on this one. Jen does these crelly bases so well :)

Barbie Is Dreaming applies like a normal indie glitter bomb, no issues here. There’s no need to fish for the glitter and even the stars come out of the bottle very easily. On the photos I have three coats of Barbie Is Dreaming, one coat of Nail Pattern Boldness Glitter Food and HK Girl Fast Drying + Super Shiny top coat.

So this one can only be bought from Mei Mei’s Signatures and there’s also many other exclusive shades from other indie brands. I just bought a couple of more myself the other day ;)


ABC Challenge – M is for Mint Candy Apple

32

Happy Wednesday to our amazing group of ladies and everyone else too :)

Also Happy birthday to lovely Lariesa ♥

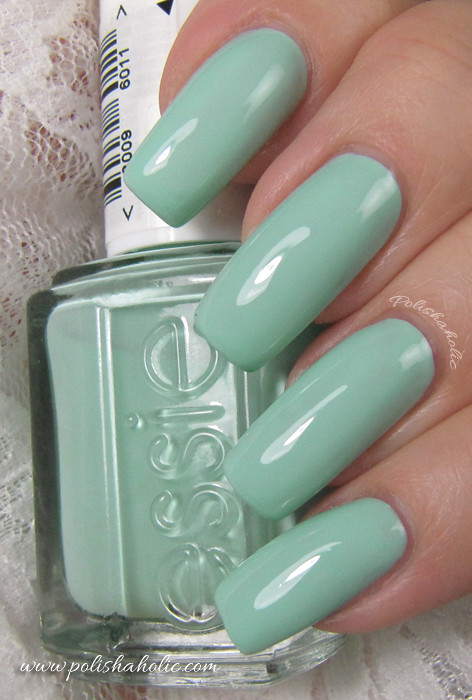
Today it’s time for letter M on our ABC challenge and for this week I chose Essie Mint Candy Apple. Very simple and basic color but also very pretty. This goes great with my skintone and makes a perfect base for some nail art or layering glitter polishes. On the first photo I have two coats of Mint Candy Apple and a coat of the amazing HK Girl fast drying top coat.

I decided to try some stampings on this one but they ended up looking a little messy. I like how the two colors turned out looking though. For the butterflies I used some tiny little sample plate from Konad and the ring finger pattern is from XL O stamping plate. These XL plates have nice and big patterns for longer nails. The polishes I used for stamping are China Glaze Adore and Harmony.

That’s it for this week and be sure to pay a visit to all the other ladies too :))


How I remove glitter polish from gel or acrylic nails

2

Hello my lovelies! Today I have a quick tutorial on how I remove those glitter bombs from my UV-gel coated  nails. When you have acrylic nails on, using acetone is a big no no, not to mention doing the foil method. UV-gel is not so much harmed by the acetone but I still prefer not to use the foil method so this is how I do it. I DO NOT recommend this method if you have natural nails cos you WILL damage your nails doing this! So this is only if you have gel or acrylic nails on.


This is what I start with, acetone free nail polish remover, metallic cuticle pusher and some cotton pads.
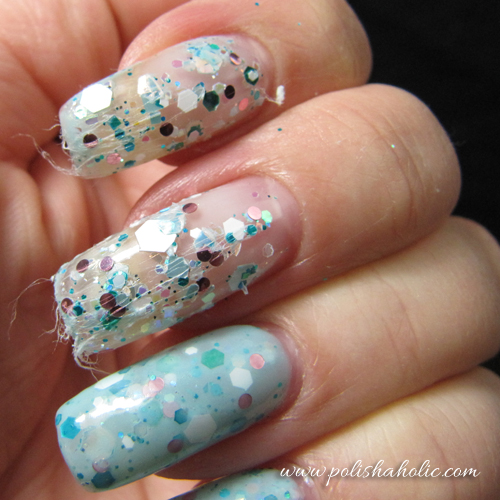
First I remove all the polish that comes off easily. I do this two fingers at a time. No need to try and scrub that glitter off.
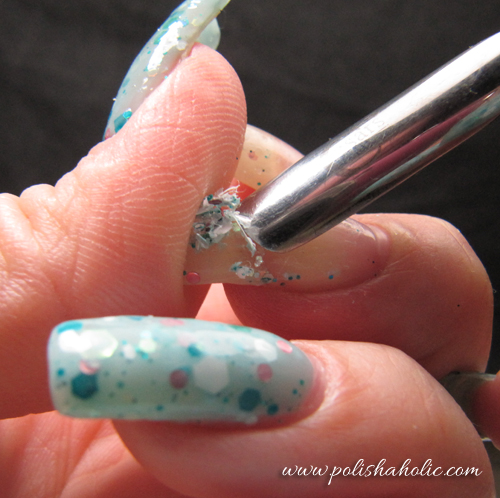
Then I take the cuticle pusher and just push the glitter off the nail. Nail polish remover softens the remaining glitter and the polish underneath it so that this is easy enough to do. I only do two nails at the time and work quickly. If you do more than two, the glitter and remaining polish is harder to remove. Always try to push away from your cuticles cos you can do some serious damage if the pusher slips. Sometimes you might have to add a little bit of nail polish remover to loosen the last little glitter pieces and then use the pusher again.
After you have gotten all the glitter off your nails there’s still going to be a little bit of polish left. So just clean the rest of it with nail polish remover…
… and you’re done!
The UV-gel I use (Cesar’s Secrets) doesn’t get damaged at all cos of this. There might be a scratch or two if too much force is used. This is of course still more time consuming than removing regular nail polish but I love my glitter bombs so I’m willing to go through a little more trouble ;) This will save you a serious amount of nail polish remover and cotton pads though compared to trying to just use those alone to get the glitter off.

Author RiaG
Categories Brands

Jindie Nails – Snow Angels

6

Today I have yet another Jindie Nails polish to show you. What can I say, I’m hooked on these gorgeous glitter bombs :D This is Snow Angels, a lovely pale baby blue crelly packed with glitter. Like many other Jindie’s, the glitter in this is various shapes, sizes and colors all blended together into a perfect combo. I’m still wearing this as I type this post and I keep checking out my nails. I love the sparkle and color combination this polish has. Very beautiful!

Snow Angels is packed with glitter so you have to pay attention to the application. Application is not difficult though, just a usual indie glitter bomb type. Two coats was enough for my nails and the glitter came out of the bottle easily. Like my other Jindies this also dries pretty fast. On the photos I have two coats of Snow Angels, a coat of Nail Pattern Boldness Glitter Food and HK Girl fast drying top coat.

I’ve also been thinking about maybe making a tutorial of how I apply these glitter polishes as well as a post about my favorite combination of products to achieve the best possible result.

You can purchase Jindie Nails polishes from their webstore that opens before next restock. You can also buy them from the Etsy-store (closed at the moment) as well as LlaroweMei Mei’s Signatures and Ninja Polish. You can find the latest restock and other info from their Facebook page. You can also follow Jindie Nails on Twitter and Instagram. Jen has already given us a little taste of the upcoming spring collection on Jindie Nails FB and Instagram pages.


Gloss ‘n Sparkle – Unicorn Droppings

6

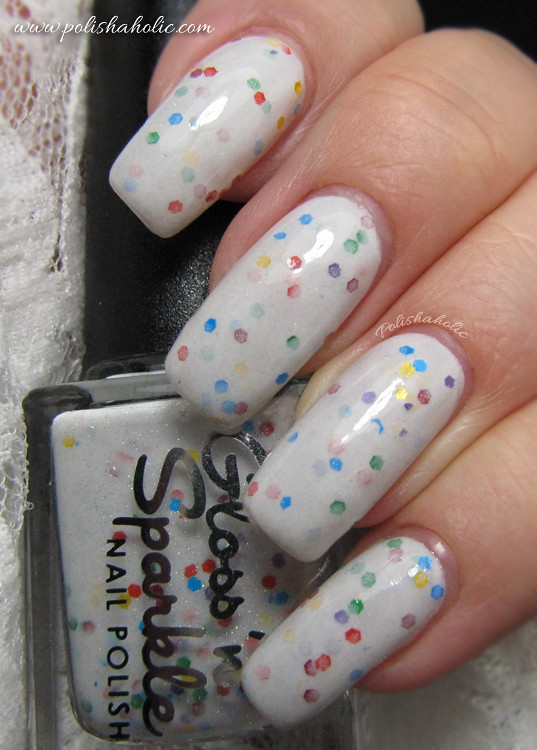
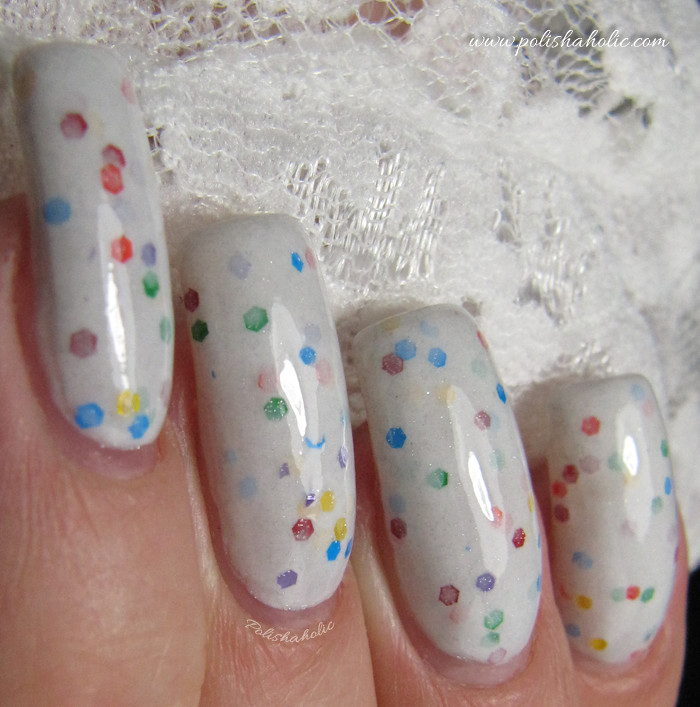
Today I have an Australian indie brand Gloss ‘n Sparkle‘s Unicorn Droppings polish to show you. This is a gorgeous glitter polish that has colorful matte hex glitters on white shimmer base. This applied very well and was more opaque than I expected it to be. Two coats was enough and this also dried pretty quickly with a little help from Poshe fast drying top coat. I didn’t take the photos till the next day after the application so I added a coat of my brand new HK Girl top coat which added the intense shine you can see on the photos.

The rainbow colors on this make it a perfect color for spring and Easter time :)

I bought this from Shoppe Eclecticco. They have a great customer service and my orders have always been shipped super fast!


OPI – Pedal Faster Suzi!

5

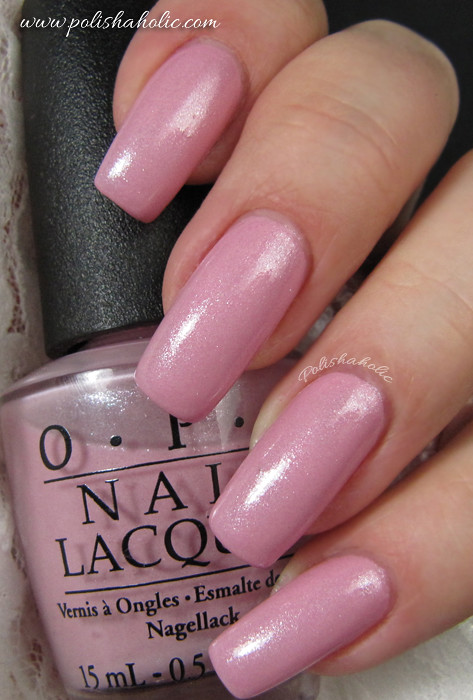
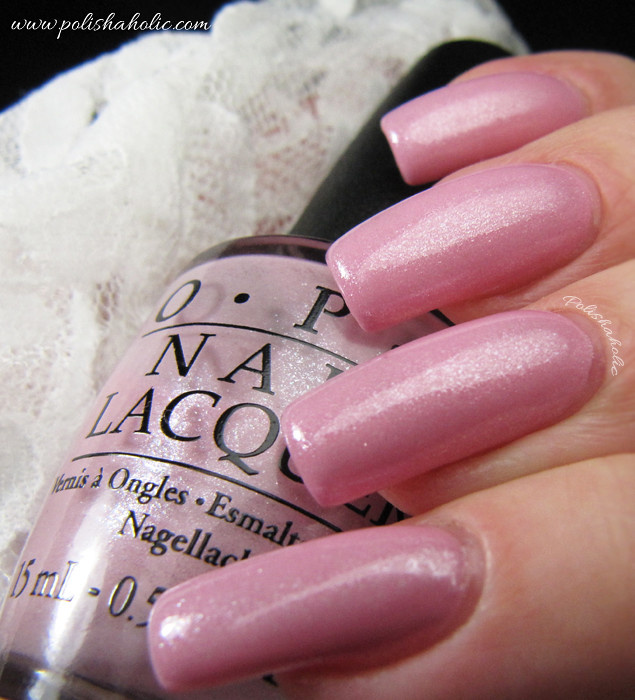
I’ve used OPI’s Pedal Fast Suzi! from their Holland collection many times but I don’t think I’ve ever taken a photo of just it alone so here goes. Pedal Faster Suzi! is cold toned light pink with a lot of silver shimmer. Very beautiful on it’s own too and perfect base for nail art and chunky glitter polishes. On the photo I have three coats of Pedal Faster Suzi! and Poshe fast drying top coat.


Jindie Nails – Princess Breath

4

Wow! It’s Monday again! Time goes so fast I feel like it’s Monday every other day instead of once a week. For me it’s not that bad though cos I’m staying at home with my two little girls so it’s like any other day for me really. Ok, enough with the babble and on to today’s polish which is the last of the three new Jindie Nails polishes I have to show you, Princess Breath. Ladies and possibly a few gentlemen, this is a stunner! So much shiny glitter on this one, it just sparkles on your nails. So beautiful! Another “I need a full size bottle” shade for me.

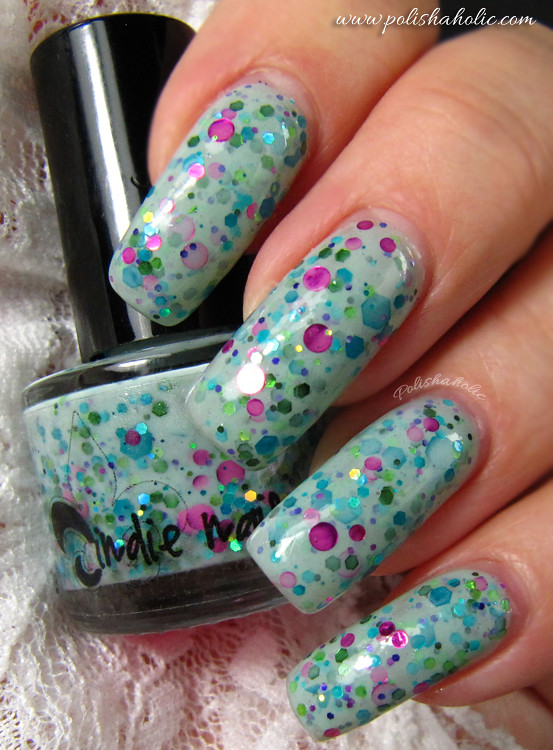
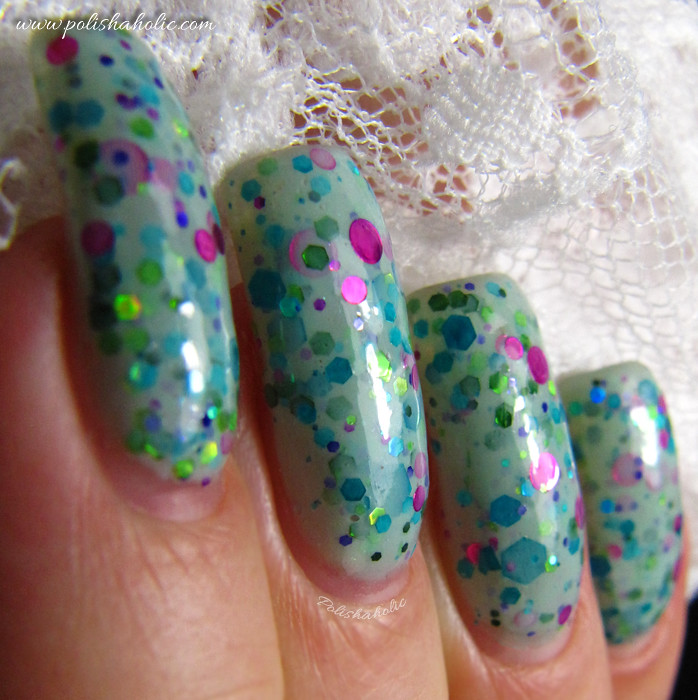
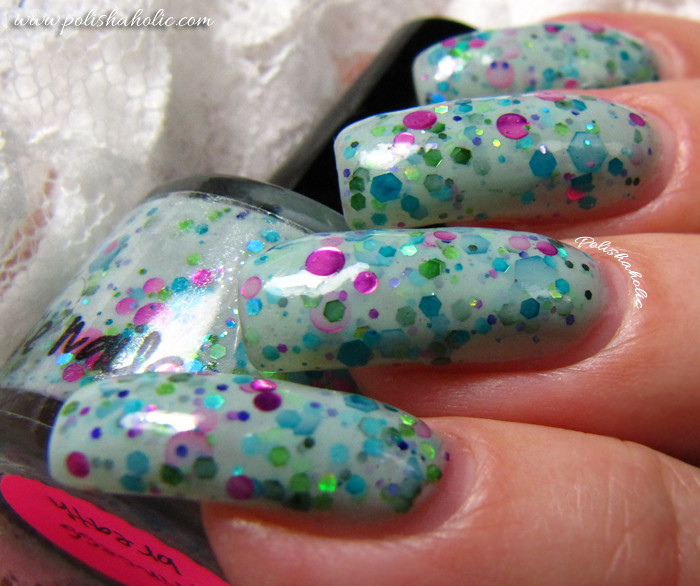
Princess Breath is a pale mint-y green crelly that applies very nice and smooth, no need to fish for the glitter either. I did turn the bottle upside down for a bit before application though. Two coats is enough for an opaque result but I added a thin third coat to get the shiny glitter to show. I press down with the brush just hard enough to wipe the polish off of those glitter pieces so you can really see them shine. To be able to do that you have to let the first two coats dry for a bit or the bigger glitter on the second coat starts dragging when you press the brush down harder. I really love this polish! This is the kind of a shade that can cause you to crash into things while staring at your nails and not looking where you going ;)

On the photo there is three coats of Princess Breath, a coat of Nail Pattern Boldness Glitter Food and Poshe fast drying top coat. Photos are taken with daylight bulbs since the sun decided not to show up at all while I was wearing this.

You can purchase Jindie Nails polishes from their webstore that opens before next restock. You can also buy them from the Etsy-store (closed at the moment) as well as LlaroweMei Mei’s Signatures and Ninja Polish. You can find the latest restock and other info from their Facebook page. You can also follow Jindie Nails on Twitter and Instagram. Jen has already given us a little taste of the upcoming spring collection on Jindie Nails FB and Instagram pages.


***This was sent for review