Category: Indie Polish

Jindie Nails – Through the Eyes of a Child

4

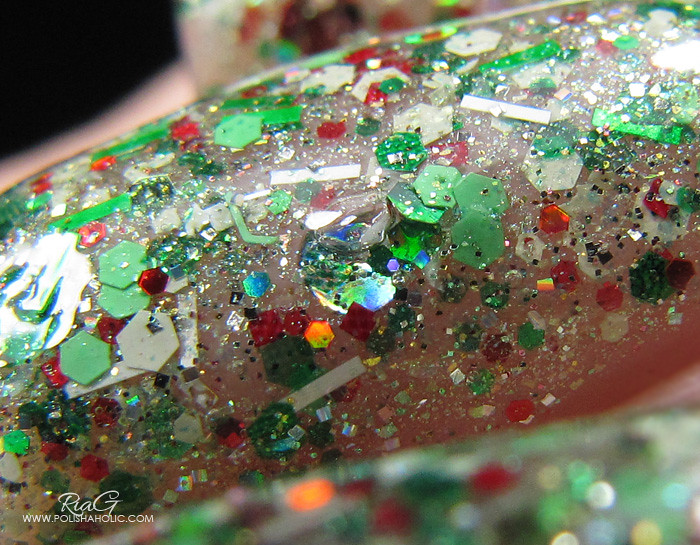
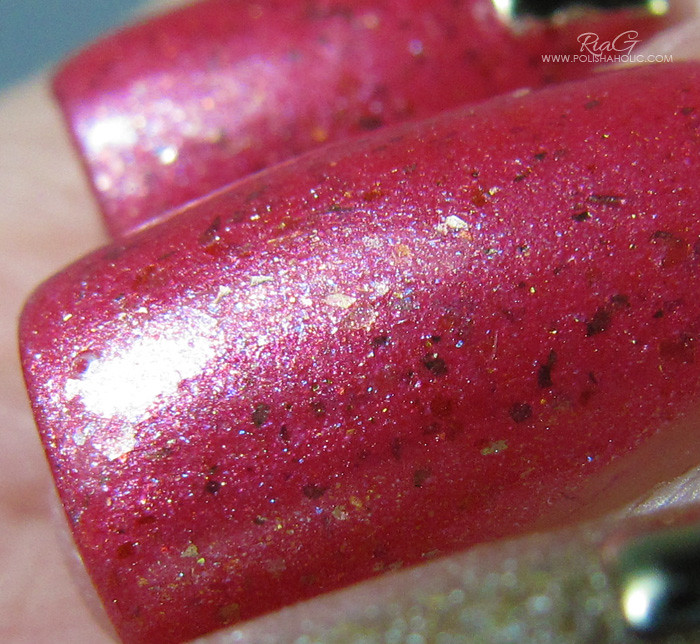
Here’s a quick post of a lovely new Jindie Nails polish, Through The Eyes of a Child. This works perfectly as a glitter topper and one coat is plenty enough. Since there’s so much going on in this polish I chose to wear it alone on a nude base. There’s an insane amount of different kind of glitter on a shimmer-y clear base in this bottle :D Even hearts and candy canes! The shimmery base made it look very beautiful when worn alone but I couldn’t quite capture on the photos all the sparkle it had.

Glitter comes out of the bottle pretty easy but I still recommend turning the bottle upside down for a bit before application. The candy canes take a bit of fishing but everything else comes out quite nice. Application was good considering how packed with glitter this polish is. If you use this as a glitter topper just one coat is enough and normal application will do. If you wear it alone like I did here you’ll need two coats and a little bit of dabbing the glitter here and there. I didn’t experience any difficulties with this polish and I love how it just screams Christmas :D
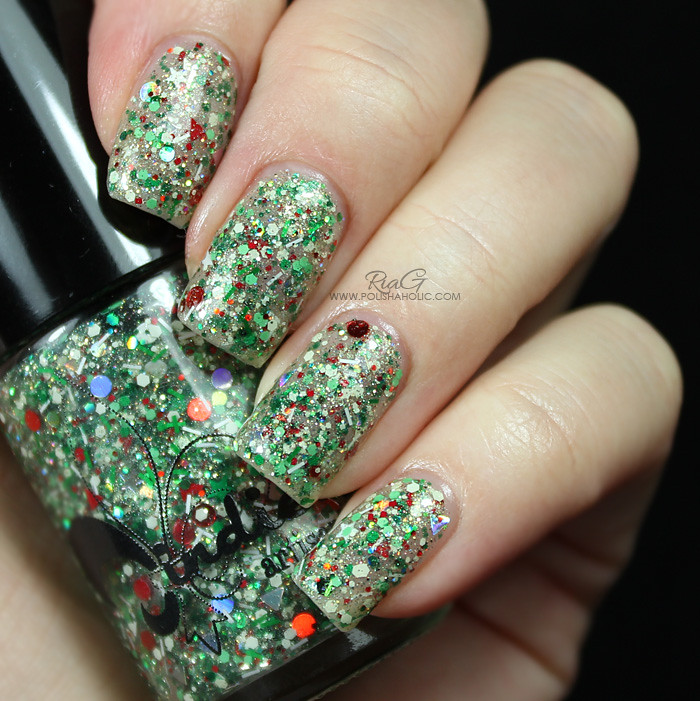
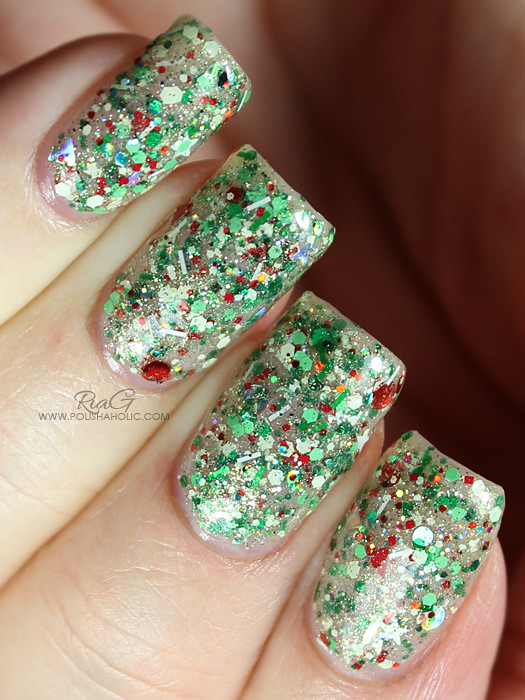


For this manicure I used Essie Beam Me, Essie Sugar Daddy, two coats of Through The Eyes of a Child and two coats of HK Girl top coat.

You can buy Jindie Nails polishes from JindieNails.com or from authorized distributors. You can find the latest news, releases and restock info from their FB and IG.


***Through The Eyes of a Child was sent for review. I don’t benefit from clicking any of the links on this post.
 

Jindie Nails – O Holo Night and stamping nail art

10

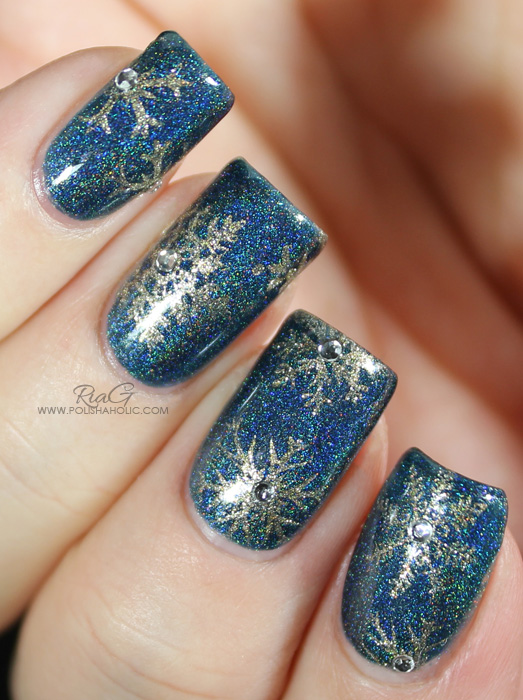
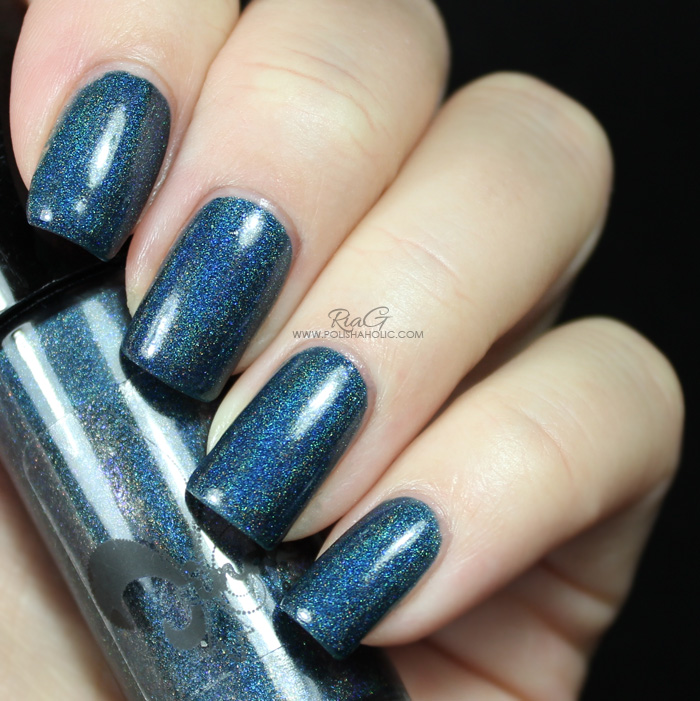
Happy Monday! It’s that magical time of the year and what would be a better polish to paint your nails with than the one that is called O Holo Night :D

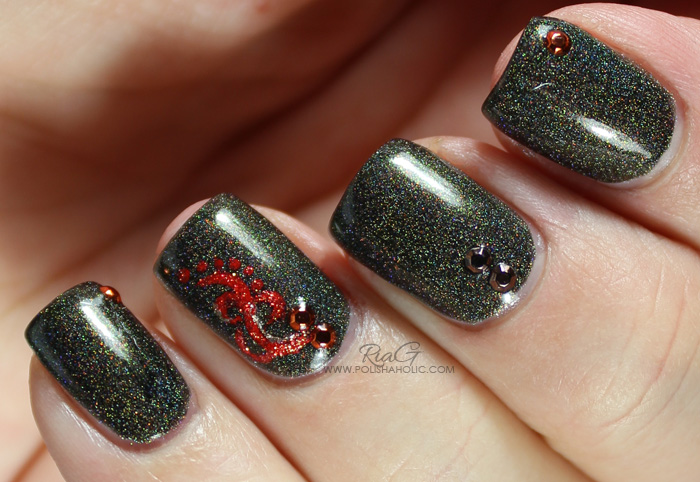
“This one is a blackened navy blue linear holo with violet/blue glass fleck shimmer and made with SpectraFlair, the most potent holographic pigment on the market.  This is opaque in 2 coats!”

Formula on this was very good. Easy to apply, no dragging or balding and it was almost opaque already on one coat. Dry time was quick and it didn’t stain my nails. Unfortunately this time of the year there’s not enough sun here in Finland to see the holo effect as amazing as it would be in direct sunlight so I just have to show you how beautiful this looks with just daylight bulbs.

For this manicure I used a coat of Sally Hansen Nail Rehab, a coat of Glisten & Glow Stuck On Blu!, two coats of O Holo Night and HK Girl top coat.


Stamping is done with OPI Love.Angel.Music.Baby, squishy XL stamper and XL stamping plate OB-M. Rhinestones are from Konad Pro Rhinestone Pallet Set 7.

You can buy Jindie Nails polishes from JindieNails.com or from authorized distributors. You can find the latest news, releases and restock info from their FB and IG.


***All the products on this post were sent for review. I don’t benefit from clicking any of the links on this post.

Holiday theme nails with Dollish Polish Redrum

8

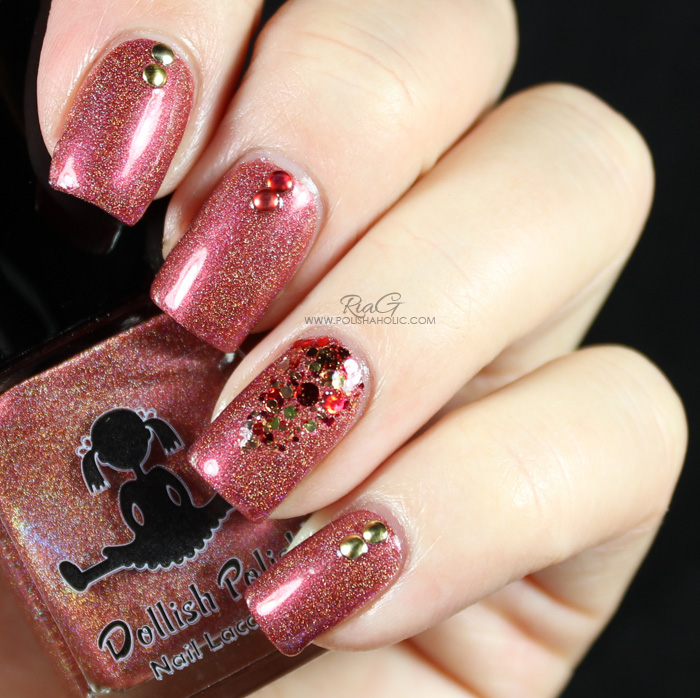
It’s December! I love this time of the year :) So now it’s also time for the first Holiday theme manicure!

For this manicure I used Sally Hansen Nail Rehab and Glisten & Glow Stuck On Blu! as my base coats.

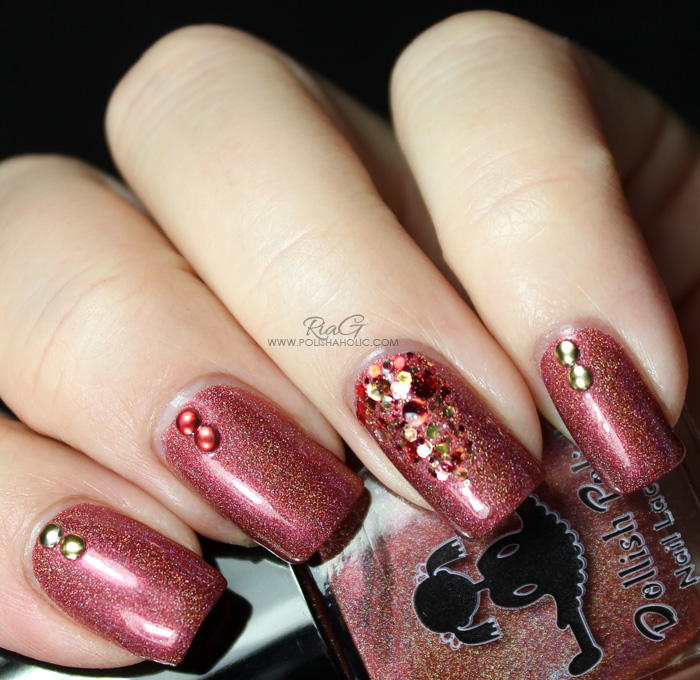
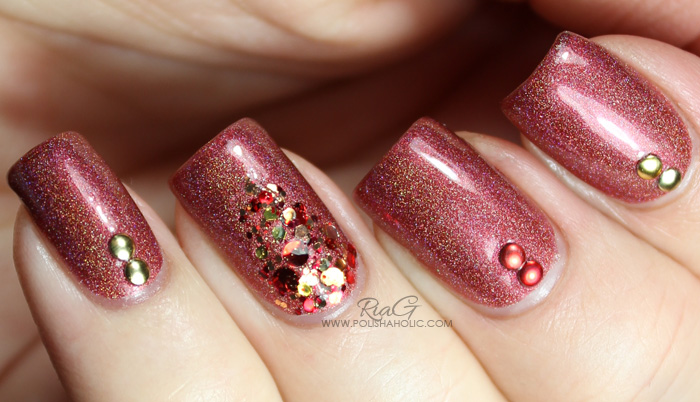
For all the nails I used Dollish Polish Redrum, not so Chrismas-sy themed holo polish from the Halloween collection. Unfortunately this is no longer available so you’ll have to wait till next year to see if it makes a return for Halloween then. This was too very easy coats. Dry time was fast and no chipping in three days when I wore this.

For the ring finger I used Chaos & Crocodiles Fireside Nights to get some sparkle.

At last I added some red and gold studs and finished the manicure with HK Girl top coat.


***Redrum and Fireside Nights were purchased by me.  I don’t benefit from clicking any of the links on this post.

Delush Polish – Bitchcraft

18

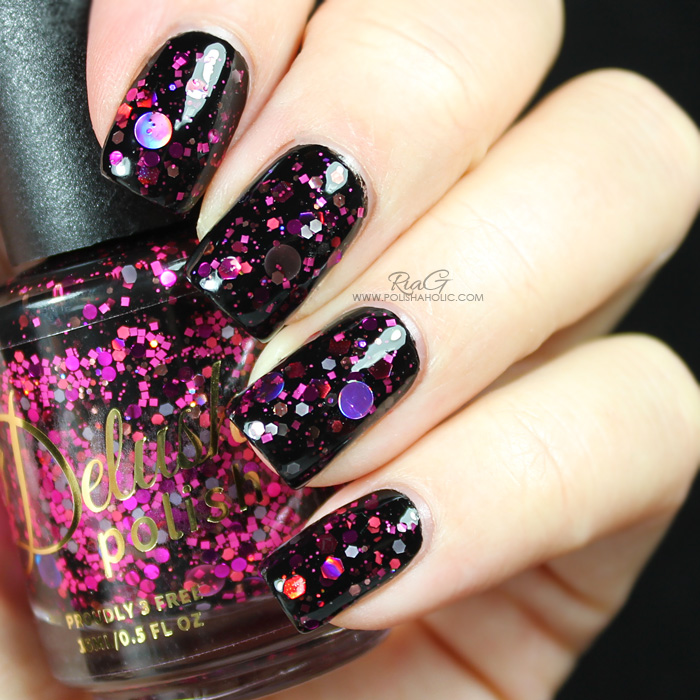
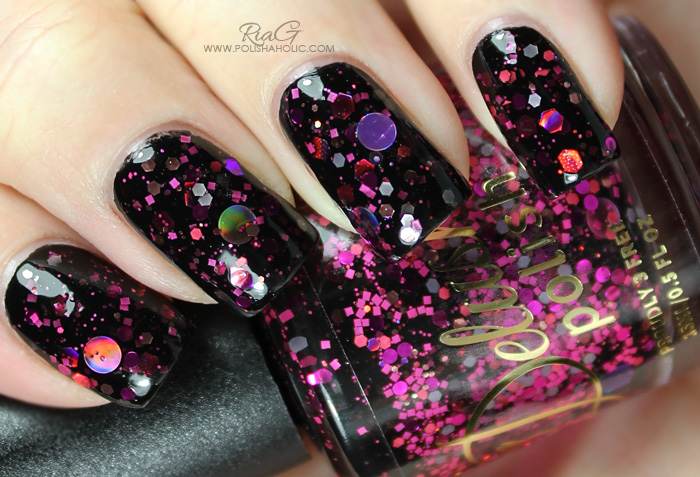
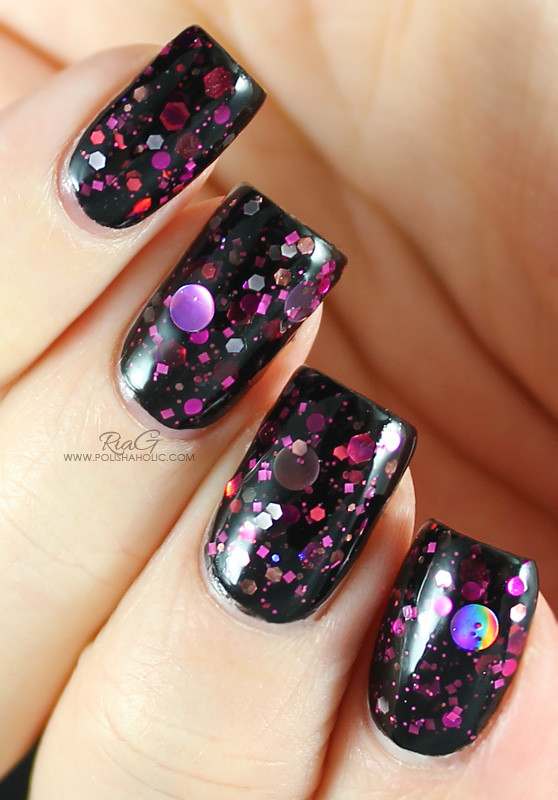
This beauty is Delush Polish Bitchcraft from the Scream Supreme collection. Every polish on this collection is just stunning and unfortunately I couldn’t afford to buy all of them. I do have three to show you though and this is the first one of those three, Bitchcraft.

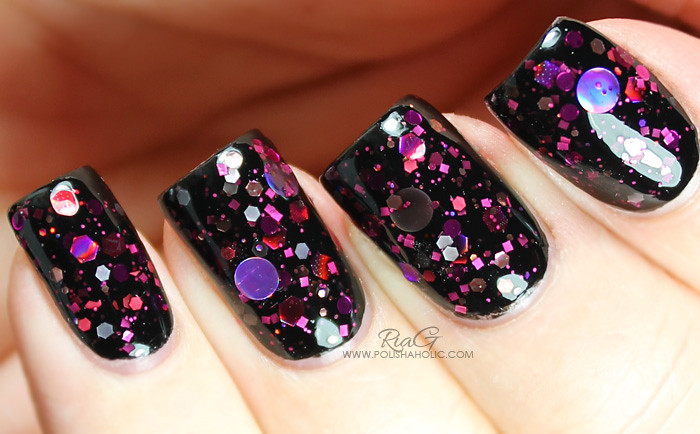
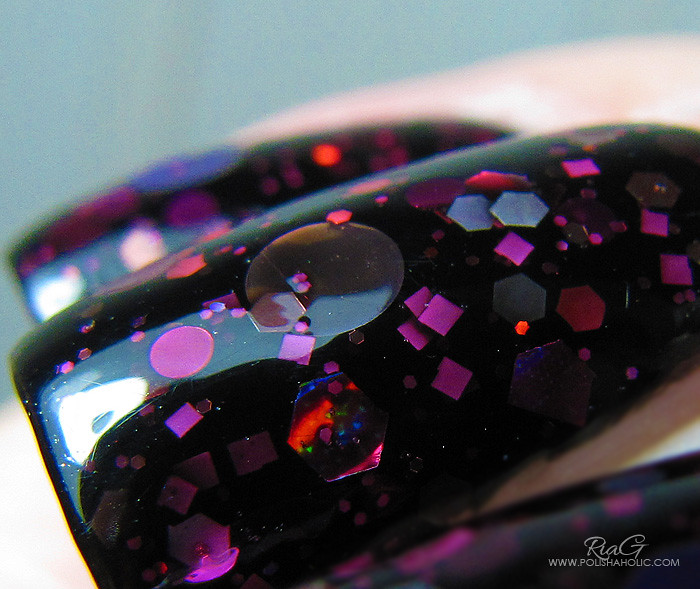
This is a gorgeous black jelly glitterbomb. I turned the bottle upside down before application to help the largest dots to come out easier. Cos my nails are quite curvy I did move the biggest glitter pieces to the spots were they laid flat. Other than that no glitter placement was needed. Very good formula that was easy and even to apply and dried quickly. This can be worn alone too but I decided to layer it over a black creme to really make the pink glitters pop.

For this manicure I used a coat of Sally Hansen Nail Rehab, a coat of Glisten & Glow Stuck On Blu!, a coat of Essie Licorice, two coats of Bitchcraft and two coats of HK Girl top coat to smooth out the glitters.


***Bitchcraft was purchased by me.  I don’t benefit from clicking any of the links on this post.
Matching Nails & Makeup – Delush Polish Time To Kill

20

Today I’m trying something that is new to my blog. I take a polish/manicure and match my makeup with it to show you guys. Most of these looks are meant to be your average every day look. Something I can wear when I walk out the door to go shopping or just go to a grocery store. I like to play with colors too so there is going to be everything from nude makeup to a smokey eye. Needless to say, I have a lot of makeup and nail polish to match so I shouldn’t run out of material anytime soon :D It’s just a matter of having the time to do my makeup and take photos too. So when ever I have time to do this, you’ll see the results.

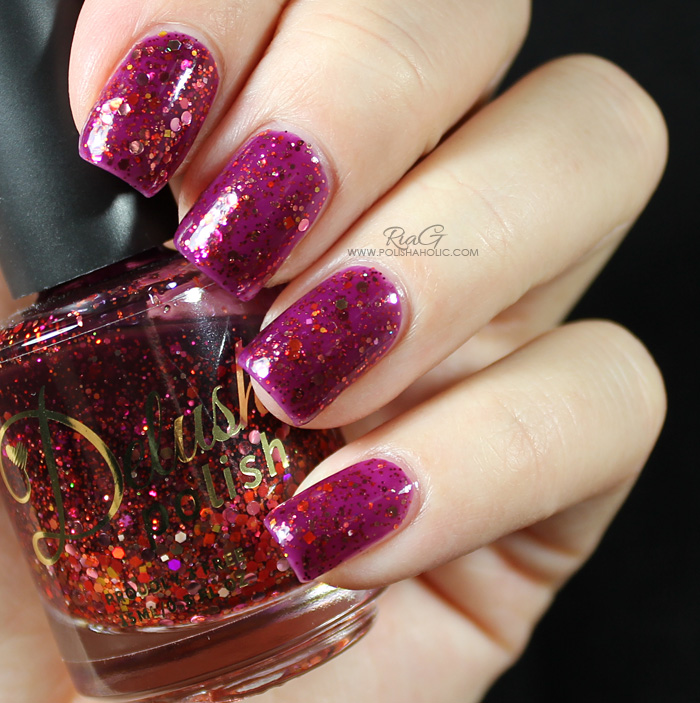
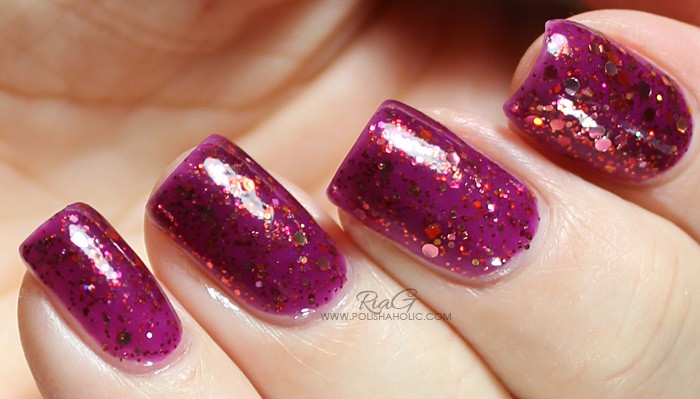
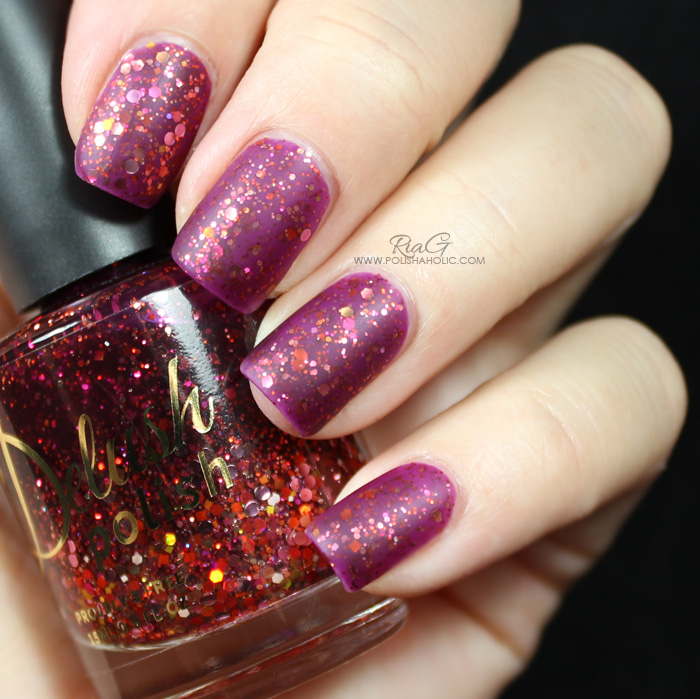
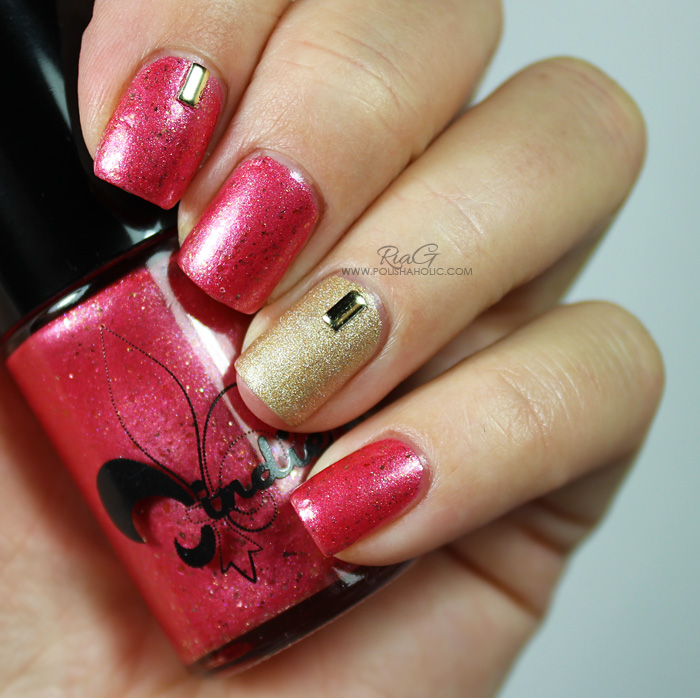
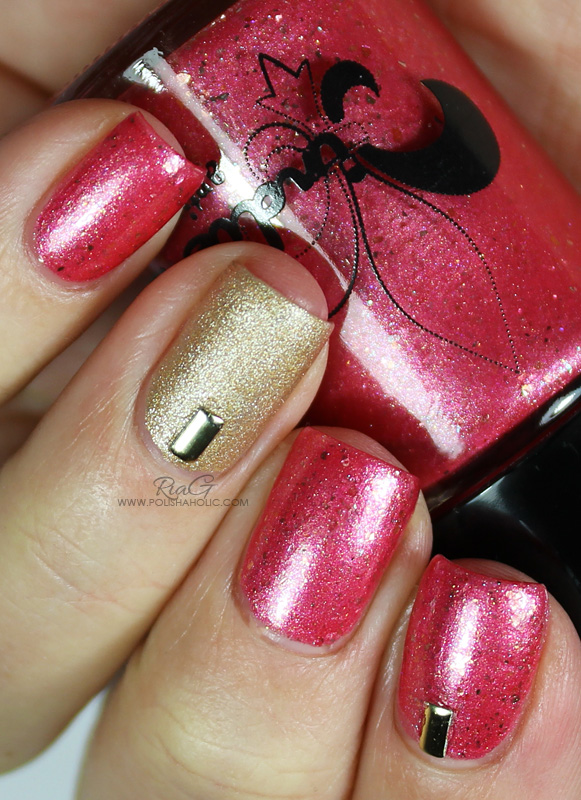
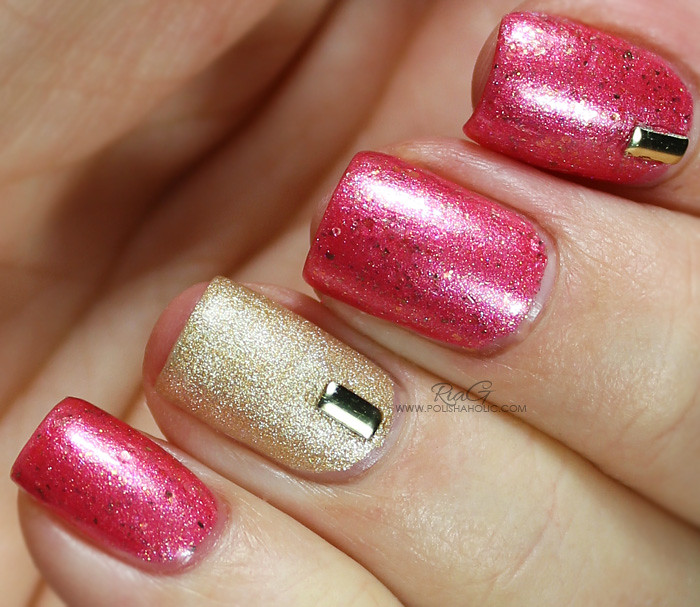
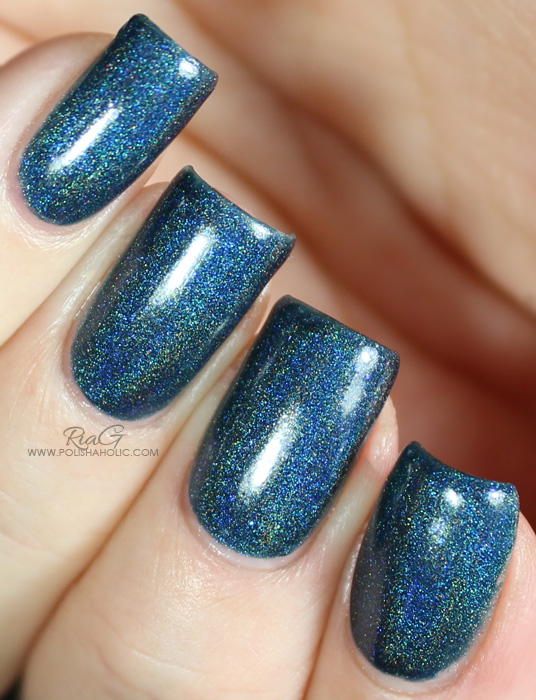
So my choice for today’s makeup look was based on Delush Polish Time To Kill from the Slice Of Life Collection. This is a stunning plum jelly that can be worn on it’s own or over a base color. The formula is flawless. It applies nice and thin. Glitters spread evenly without having to place or dab them on. Dry time is also pretty fast. It’s just perfect!

For this manicure I used a coat of Sally Hansen Nail Rehab treatment, a coat of Glisten & Glow Stuck On Blu! base coat, a coat of Essie Sugar Daddy, two coats of Time To Kill and HK Girl top coat. I also added a matte top coat (This matte top coat is from Born Pretty Store and I’ll have a review coming up for it later on. You can use the code NZL91 for -10% off your order).


Gorgeous! Right?

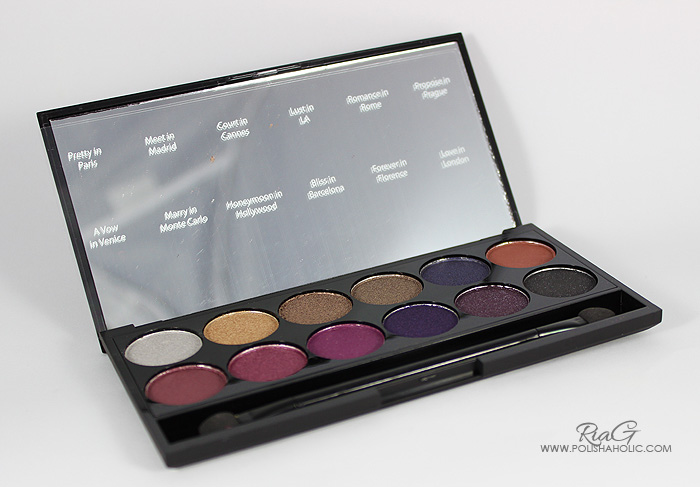
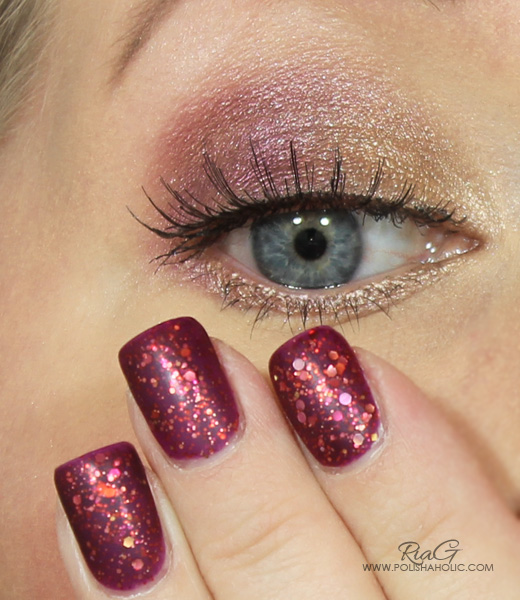
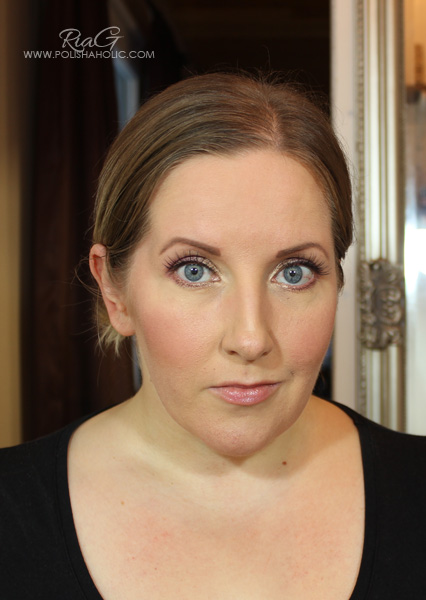
So it was easy to create a makeup look for this manicure. I used purple, plum and gold eyeshadows this time but orange would also go great with this if you want a bolder, more colorful look that really makes blue eye color pop. For the eye makeup I used Sleek Make Up Vintage Romance palette. I really like this  palette. The colors are perfect for fall and it’s also good quality for an affordable price. I really need to get more of these :)


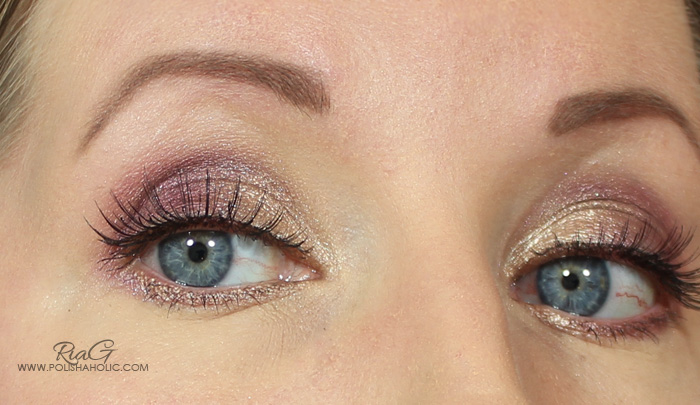
For this look I used gold Meet in Madrid and the three purple shades from the left side of the bottom row. These look quite shiny on the lid so I tried not to blend the shadows too high up. I have a lot of area to cover on my lids and if I’m not careful the makeup can end up making me look like a clown.I added false lashes cos the last pregnancy totally messed up my lashes and I have like half of them left and they are much shorter than usual. Hopefully they’ll return to normal soon enough. Till then I’ll be faking it ;)
 This look is pretty subtle and natural with a hint of color on the eyes. Good every day look that could  easily be turned into a darker nighttime look by adding dark eyeliner and creamy eyeshadow as a base to make the eyeshadows more visible.

I hope you liked this post and the idea of matching nails with makeup. I really enjoyed doing a makeup post. It’s been so long since the last one. This was fun for me at least :D


***Time To Kill was sent for review. Matte top coat was gifted to me. All the makeup products were purchased by me. I don’t benefit from clicking any of the links on this post.

Jindie Nails – Coral-ing All The Jindie Junkies (Fan group custom polish)

8

I gotta take a break from organizing my new nail and makeup room aka woman cave :D to show you this new Jindie Nails beauty. This is Coral-ing All The Jindie Junkies and it was created as a custom polish for Jindie Nails fan group in FB.

“This one is is a coral  shimmer polish loaded with blue, purple, pink, rose, green, gold and real silver flakies.  It’s also got micro glitters in holographic gold and holographic silver.  The polish is opaque in 2-3 coats.”

Quality of this polish was very good. It applied nice and smooth, dried fast enough and didn’t chip during the three days I wore this manicure. Just beautiful!

For this manicure I used a coat of Essie Fill The Gap and a coat of Glisten & Glow Stuck On Blu! base coats, two coats of Coral-ing All The Jindie Junkies and HK Girl top coat. For the ring finger I used a coat of Essie Fill The Gap and two coats of OPI Love.Angel.Music.Baby velvet matte, no top coat.

You can buy Jindie Nails polishes from JindieNails.com or from authorized distributors. You can find the latest news, releases and restock info from their FB and IG.


***All the products on this post were sent for review.  I don’t benefit from clicking any of the links on this post.

Dollish Polish – Walker Bait with a hint of nail art

4

Lately I’ve been so busy again that it’s hard to find time to write blog posts. I can do my nails and take the photos but I don’t seem to have enough time to just sit down and write these posts. So I’ve been thinking that instead of trying to write as much as I usually do I’ll keep it short and simple for a bit. That way I’ll at least get the reviews and posts up for you guys and who has time to read all this anyways LOL It’s more important to show the photos and tell you the basic things about the polish :)

This manicure is a bit of a tease cos the polish was limited edition and isn’t available anymore. This is Dollish Polish Walker Bait. I still want to show you this manicure cos Walker Bait is just stunning and you might want to keep your eyes open for it in case it makes another comeback in the future.

Walker Bait applies really well, is opaque on two coats and it dries fast. Removal was easy and there was no staining on my nails after this. It also didn’t chip during the two days I wore it. I wanted to wear it longer but I was peeling an apple and peeled a part of my ring finger nail off too so I had to remove the polish earlier than I was planning.
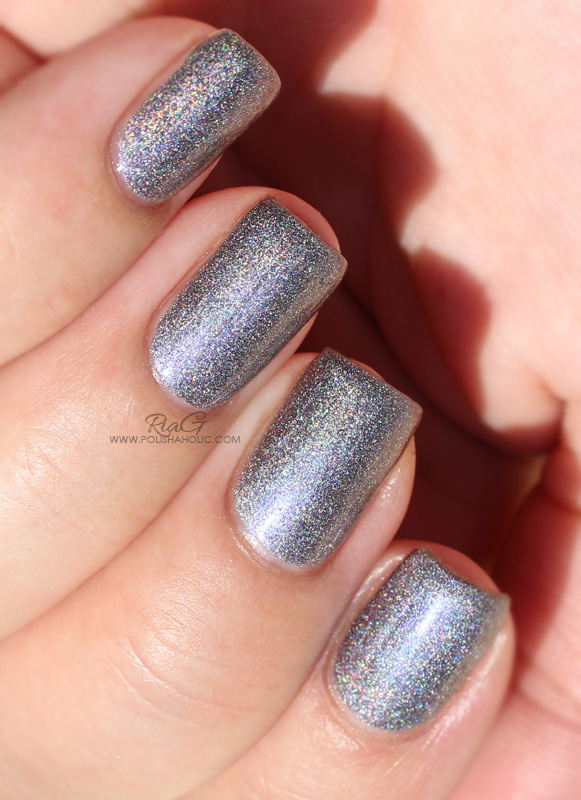
For this manicure I used a coat of Essie Fill the Gap, a coat of Glisten & Glow Stuck On Blu! base coat, two coats of Walker Bait and HK Girl top coat. Ring finger nail art is done with a fine brush using Mavala 106 Orange Fusion and OPI Liquid Sand Jinx. Studs are from Born Pretty Store.

Photos don’t do justice to this stunning polish. Looking at the bottle on these photos gives a better idea of how this looks on nails when light hits it in different angles. So beautiful!


***Walker Bait,Jinx and studs were purchased by me, Mavala Orange Fusion was sent for review.

Jindie Nails – Higher Flower

0

Happy Saturday lovelies! Here’s a quick blog post before I head out to my niece’s and nephew’s birthday party.

This is Jindie Nails Higher Flower from the Recover Me collection. The description on Jindie Nails website says it all:

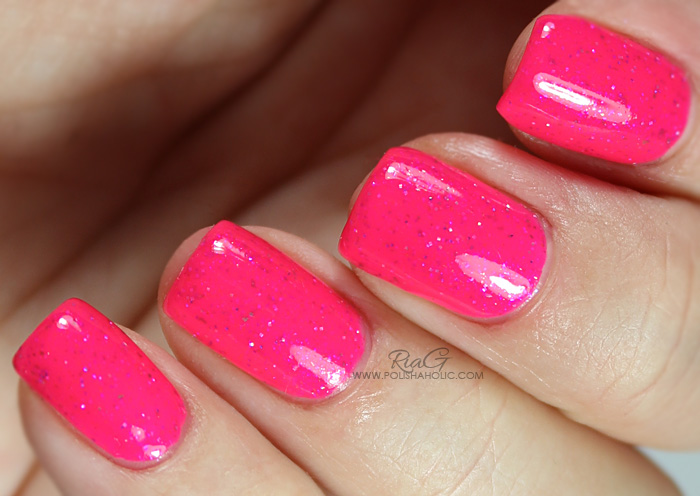
“The most beautiful and highly pigmented neon pink polish, loaded with micro flakes and holographic micro glitters in purple and silver. The flakie colors are bronze, silver, purple, pink and blue.  The silver flakies are bits of real silver.  It’s divine and opaque in 1-2 coats.”

This polish is amazing! Such a vibrant neon pink and unlike your average neon this doesn’t require multiple coats to be opaque.

Ladies and gentlemen, this is a one coater on shorter nails!!

Perfect, flawless application and quick dry time. I wore this as a full manicure for three days and no chipping or issues at all. Easy enough to remove and didn’t cause any staining.  For my full manicure I only applied one coat. On these swatch photos there is two coats of polish cos I wanted to see if the second coat would make the color even more vibrant. It added a little depth but I have to say this was already perfect on the first coat.

For this manicure I used a coat of Essie Fill the Gap, a coat of Glisten & Glow Stuck On Blu! base coat, two coats of Higher Flower and HK Girl top coat.

You can buy Jindie Nails polishes from JindieNails.com or from authorized distributors. You can find the latest news, releases and restock info from their FB and IG.


***This polish was sent for review.

Jindie Nails – You Can’t Turn a Ho-lo into a Housewife

4

Well I thought I had already shown you all the swatch photos that I still had gel on my nails in. Turns out I was wrong. Yesterday I found these photos. I took them last summer, moved them from the camera to my computer, put them in the wrong folder and forgot about them.

But now they have been found so here you go, Jindie Nails – You Can’t Turn a Ho-lo into a Housewife. A polish that has one of the most awesome names ever :D

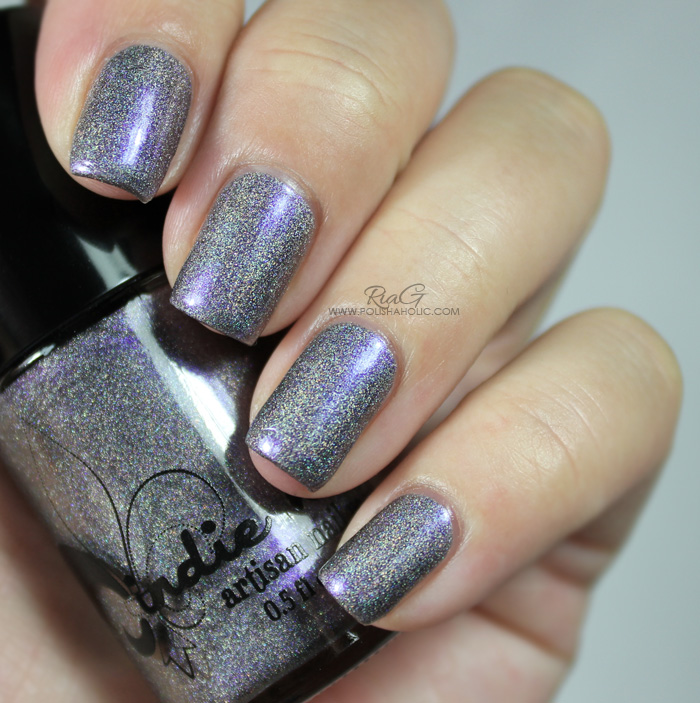
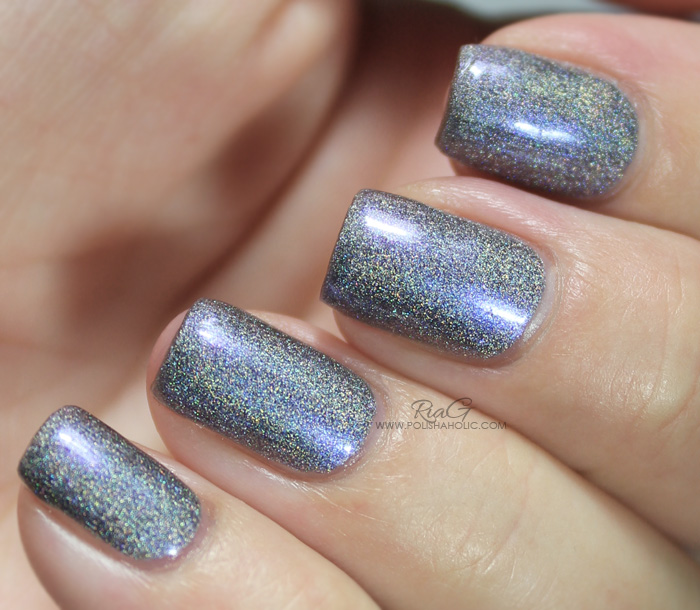
“A gorgeous multi-chrome and linear holographic polish. The colors in this one include red to blue and all shades in between”.


Formula was perfect and I had no issues with the application. This was opaque in two coats and dried fast. I did a full manicure with this polish and I remember it didn’t chip but I have no clue how long I kept it on my nails. It was at least for two days, that I know.

For this manicure I used Sally Hansen Nail Rehab as a base coat, two coats of You Can’t Turn a Ho-lo into a Housewife and HK Girl top coat.


Jindie Nails – You Can’t Turn a Ho-lo into a Housewife – photo taken with daylight bulbs.
Jindie Nails – You Can’t Turn a Ho-lo into a Housewife – photo taken in direct sunlight.


***This was sent for review.


Dollish Polish Got Snow Cones? and Murky Dismal

6

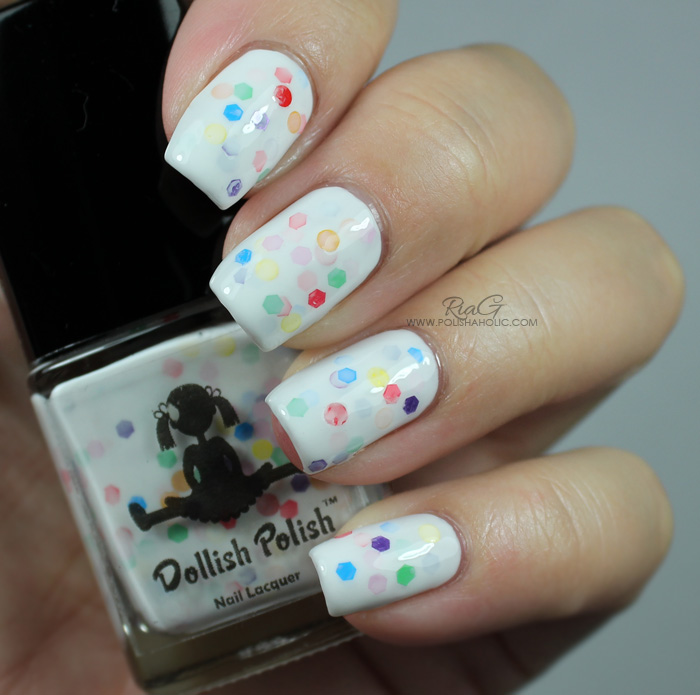
It’s about time I show you some of the swatch photos I took during the summer and never posted here on my blog. So let’s start it off with two Dollish Polish pretties. On these photos I still have some gel left on my nails and they are longer than my nails are at the moment.


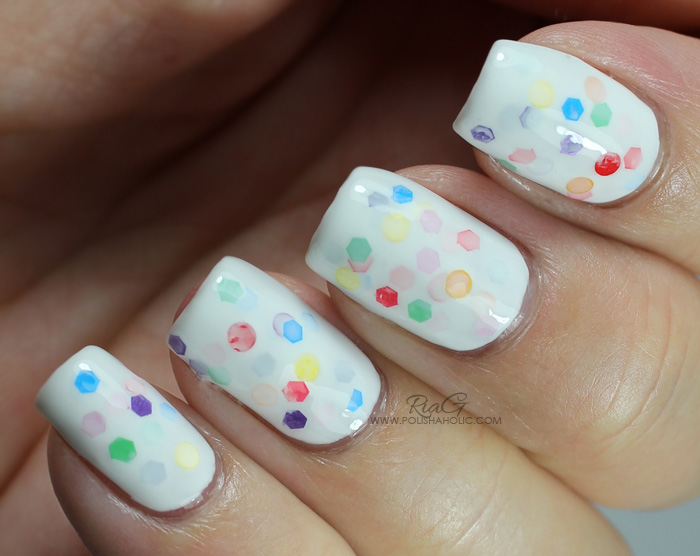
Got Snow Cones? (Glisten & Glow Stuck on Blu! base coat, two coats of Got Snow Cones? and two coats of HK Girl top coat).

Application is easy when you use a very light hand to prevent the glitter pieces from dragging bald spots on the white base. It also helps to let the first coat dry well before applying the second one. I placed some of the glitters to get a more even looking result. This is such a cute and fresh looking polish!


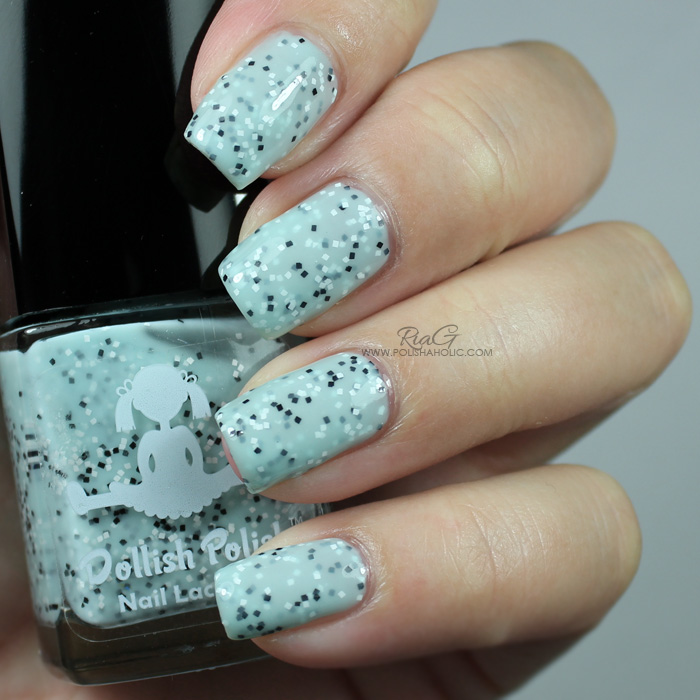
Murky Dismal (Glisten & Glow Stuck on Blu! base coat, three thin coats of Murky Dismal and a coats of HK Girl top coat).

This has a very good formula and application is really easy. I used three thin coats to achieve a good sandwich effect.


***These were sent for review.